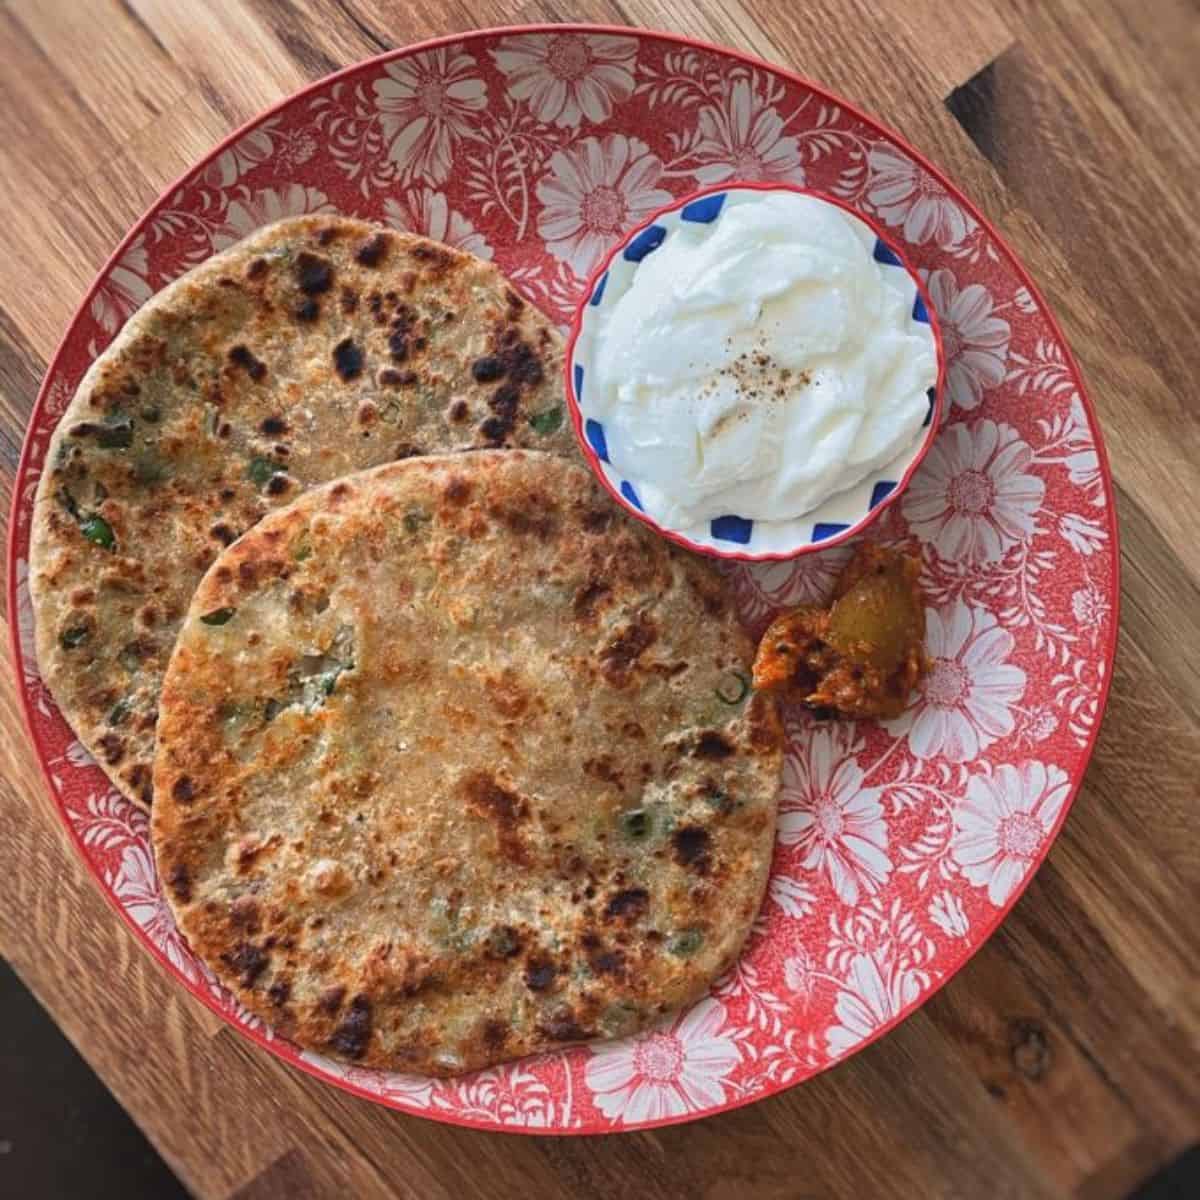
Mooli Ka Paratha is a popular Indian flatbread with earthy flavours of radish. This easy-to-make paratha involves grating fresh radish and incorporating it into the dough. The result? A flavorful and nutritious paratha that pairs perfectly with a dollop of yoghurt or pickle. Whether enjoyed for breakfast, lunch, or dinner, the Mooli Ka Paratha recipe without stuffing is sure to become a favourite in your kitchen.
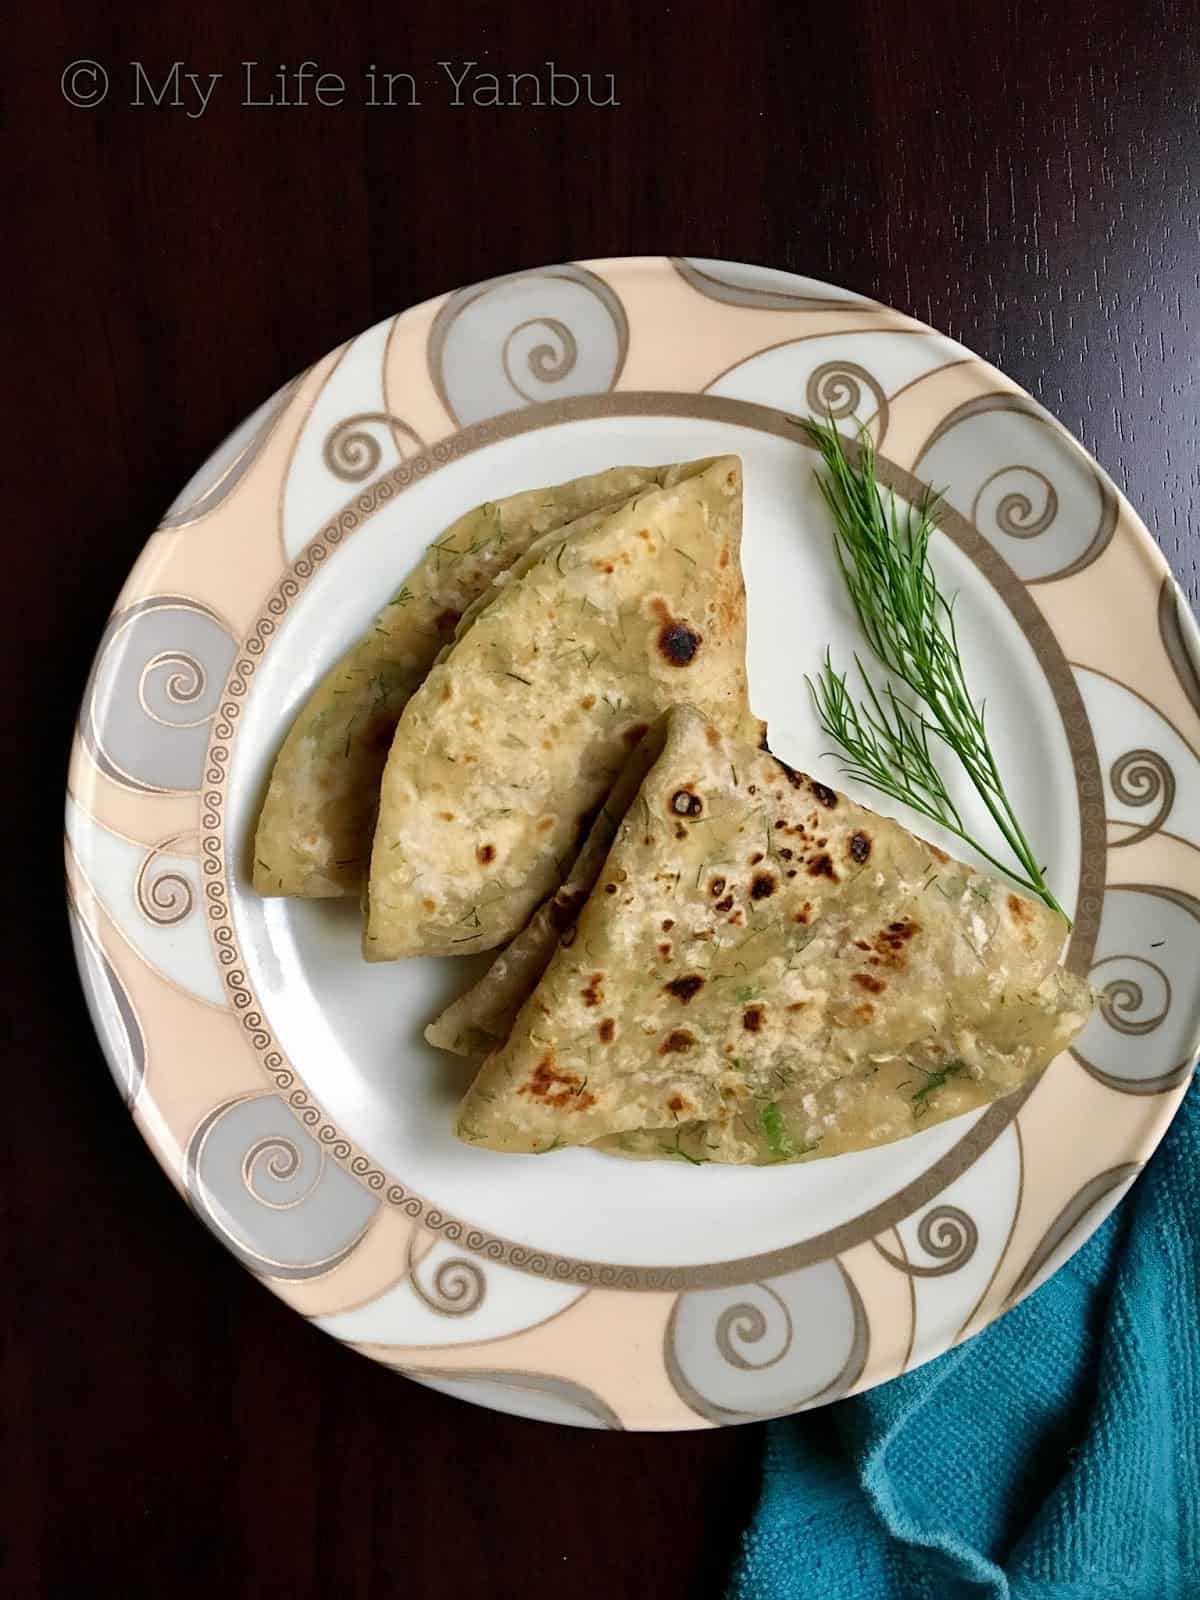
Mooli Ka Paratha is enjoyed year-round, but it's especially popular in winter when radishes are fresh. Nonetheless, it's a versatile dish that can be relished in any season. This is similar to my methi paratha or lauki paratha but with way fewer ingredients!
Jump to:
What is Mooli ka Paratha?
"Mooli ka paratha" translates to "Radish paratha" in English. It is a traditional Indian flatbread made with grated radish mixed into the dough.
Not many are Radish fans because of its pungent smell and taste. They are an excellent source of antioxidants, electrolytes, minerals, vitamins and dietary fibre. But then when it is good for health, it ain't good for the tongue 🙂 That is why I chose to add my favourite flavour-packed greens - Dill leaves as another main ingredient in this flatbread, as they make a great pair!
Raw radish is very nutritious and there is a Chinese proverb to back that - "Eating pungent radish and drinking hot tea, let the starved doctors beg on their knees!!"
Ingredients
Gather these key ingredients to create mouthwatering Radish Parathas, perfect for any meal:
- White radish
- Green chillies
- Fresh herb: dill leaves or cilantro, mint etc.
- wheat flour (atta)
See the recipe card for quantities.
Instructions
Follow these simple steps to prepare delicious Mooli Ka Parathas bursting with flavour:
- Salt the grated radish, let sit 30 mins, squeeze out moisture.
- Mix radish, flour, chillies, dill, and salt; knead into dough with squeezed-out radish water.
- Rest dough 10 mins, divide into balls.
- Roll into discs, cook on hot griddle with ghee until golden.
Hint: You might question the need to squeeze and then reincorporate the grated radish. However, adding these ingredients directly to the dough can result in a sticky texture, requiring excessive flour. This method ensures a manageable dough with minimal flour needed for rolling.
See the recipe card for details.
Substitutions
Feel free to make these adjustments to suit your taste preferences:
- Radish: You can substitute white radish with red radish or daikon radish.
- Wheat Flour: If you prefer, you can use all-purpose flour or a combination of whole wheat flour and all-purpose flour.
- Green Chilies: Adjust the number of green chillies according to your spice preference, or substitute with red chilli flakes or powder.
- Dill Leaves: If dill leaves are unavailable, you can use cilantro (coriander) leaves or mint leaves for a different flavour.
- Ghee: While ghee adds a rich flavour, you can substitute it with butter or oil for cooking.
Variations
Explore these creative variations to add a twist to your traditional Radish Parathas:
- Stuffed Parathas: Instead of mixing the radish directly into the dough, create a filling by sautéing grated radish with spices like cumin, coriander, and garam masala. Use this filling to stuff the parathas before rolling and cooking. This would be the classic Punjabi mooli ka paratha.
- Herb-infused Parathas: Experiment with different herbs such as parsley, basil, or thyme to add unique flavours to your parathas.
- Multigrain Radish Parathas: Substitute a portion of wheat flour with other grains like millet flour, oat flour, or buckwheat flour to increase the nutritional value and add variety to your parathas.
Feel free to get creative and customize your Mooli ka Parathas according to your preferences!
Storage
Storage Tips for Mooli Parathas:
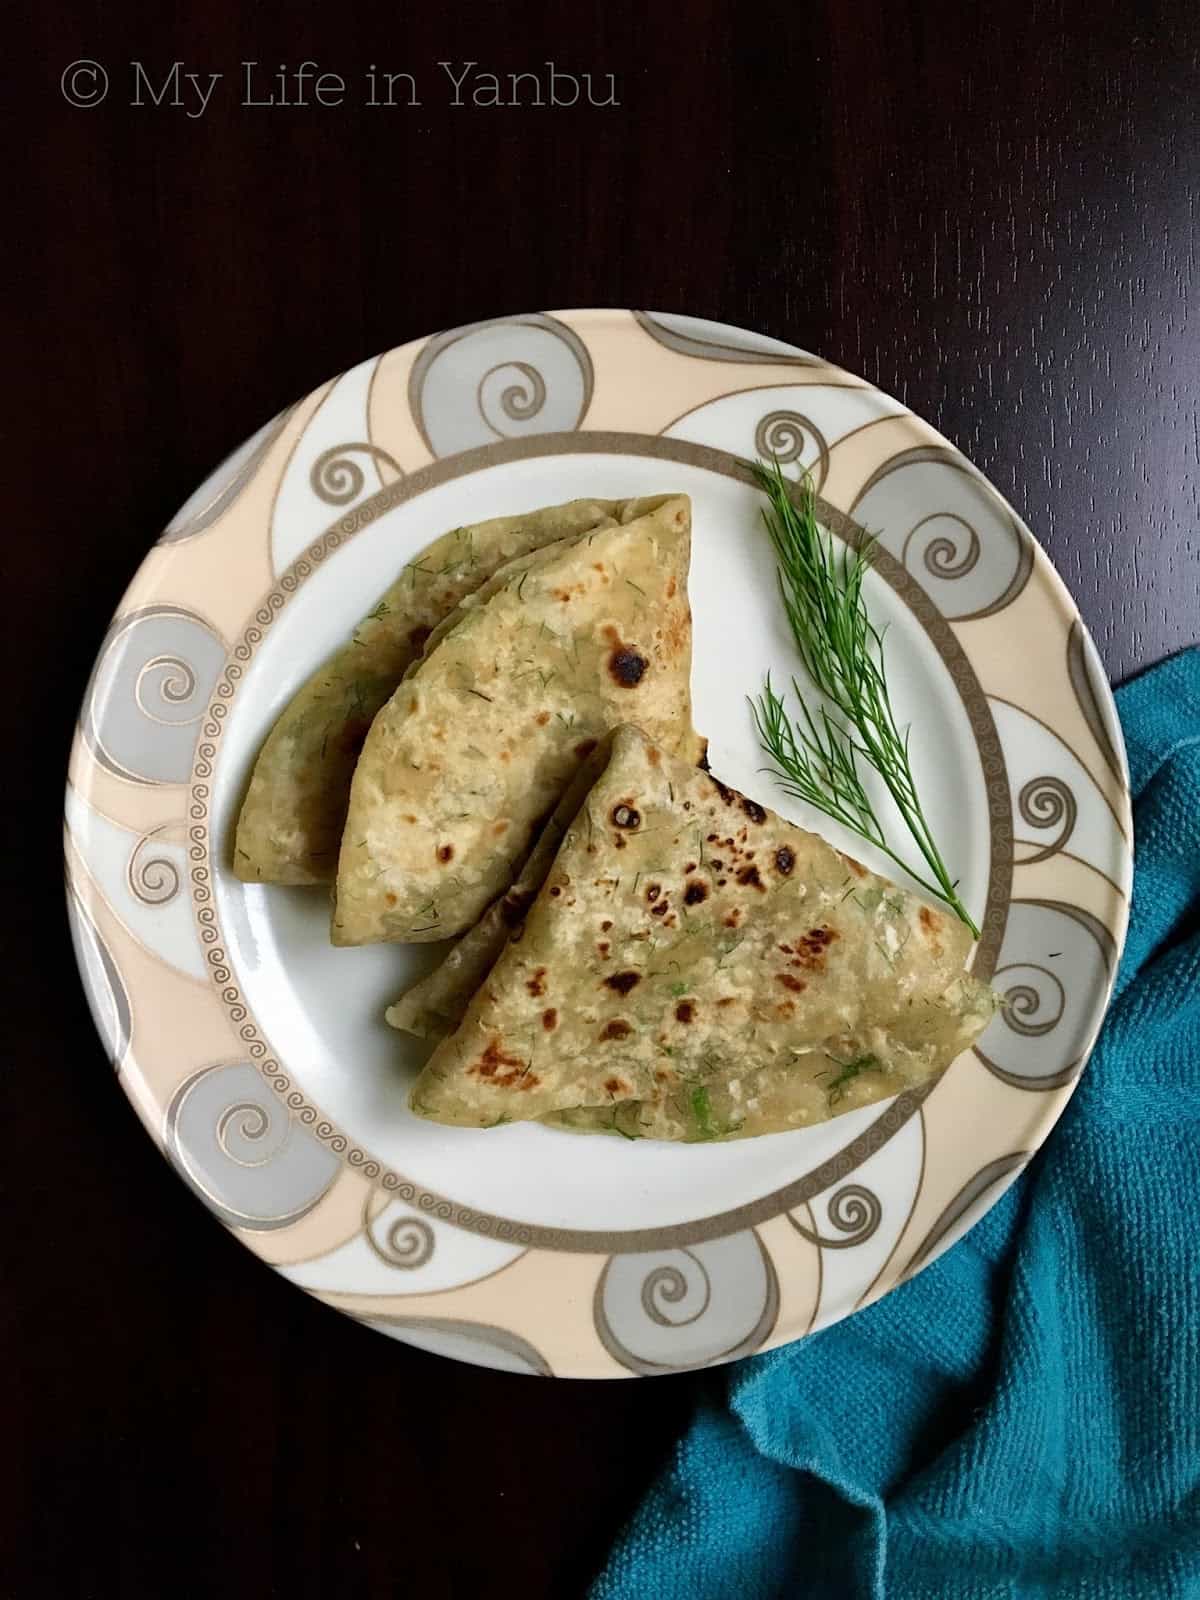
- Refrigeration: Once the Mooli Parathas have cooled completely, fold them into triangles and store them in an airtight container. Refrigerate for up to 2-3 days.
- Reheating: For refrigerated parathas, warm them on a tawa. Cover with a lid and heat for a few minutes on each side until warmed through.
- Microwaving: Alternatively, microwave the parathas for 30-60 seconds on high power, flipping halfway through, until warmed.
By following these storage tips, you can enjoy your Radish Parathas whenever you crave them, even on busy days!
Top tip
Before adding grated radish to the dough, ensure to squeeze out as much moisture as possible. This prevents the dough from becoming too wet, resulting in parathas that are easier to roll and cook, with a better texture. Additionally, allowing the dough to rest after kneading helps the flavours to meld and the gluten to relax, resulting in softer and more flavorful parathas.
FAQ
Yes, you can experiment with different varieties of radishes such as red radishes or daikon radishes to create variations in flavor and texture.
Absolutely! You can prepare the dough in advance and store it in the refrigerator for up to 24 hours. Just make sure to wrap it tightly in plastic wrap to prevent it from drying out.
Yes, you can freeze the cooked parathas for up to 1-2 months. Make sure to cool them completely before wrapping them individually in plastic wrap or aluminium foil, then place them in a freezer-safe bag or container.
While dill leaves add a unique flavour to the parathas, you can certainly omit them or substitute them with other herbs such as cilantro or mint.
Related
Looking for more Indian flatbread recipes? Try these!
📖 Recipe Card

Mooli Ka Paratha (without stuffing)
Ingredients
- ¾ cup grated white radish
- 1 ½ cups whole wheat flour
- 2 green chillies, finely chopped
- ½ cup fresh dill leaves, chopped
- salt to taste
- 1 teaspoon olive oil, (or any cooking oil)
- water, as needed for kneading
- all-purpose flour, for kneading, resting, and rolling
- ghee, for roasting
Instructions
- Sprinkle a pinch of salt over the grated radish and set aside for at least 30 minutes.
- Squeeze out the excess moisture from the radish using your hands, collecting it in a bowl for making the dough. Repeat until the radish is almost dry.
- In the bowl containing squeezed-out water, combine salt, flour, radish, chopped leaves, and green chillies.
- Knead the mixture thoroughly and add water gradually if needed to form a soft, non-sticky dough. Coat the dough with flour and let it rest for 10 minutes.
- Grease your palm with oil and knead the dough lightly. Divide it into 6 to 7 equal-sized balls, dust each with flour, and keep them covered. Preheat a tawa (griddle) over medium to high heat.
- Dust your rolling pin and work surface with flour, then gently roll each dough ball into approximately 6-inch discs.
- Place a rolled paratha onto the hot tawa and cook over medium to high heat. Drizzle 1 to 2 teaspoons of ghee on both sides, flipping the paratha until evenly cooked and golden brown.
- Stack and store in a cloth-lined bread basket and serve immediately with lime pickle, yoghurt or any dal curry.




Famidha Ashraf says
An easy peasy flatbread with extra goodness of radish! Why won't I make them often!!