Warm and sweet homemade American apple pie made with love for my love to celebrate love. An apple pie with layers of sweet cinnamon-spiced apples nestled in a buttery pie crust is best served with vanilla ice cream for an ultimate home-style dessert. But I skipped the ice cream part because it dawned on me late. 😀
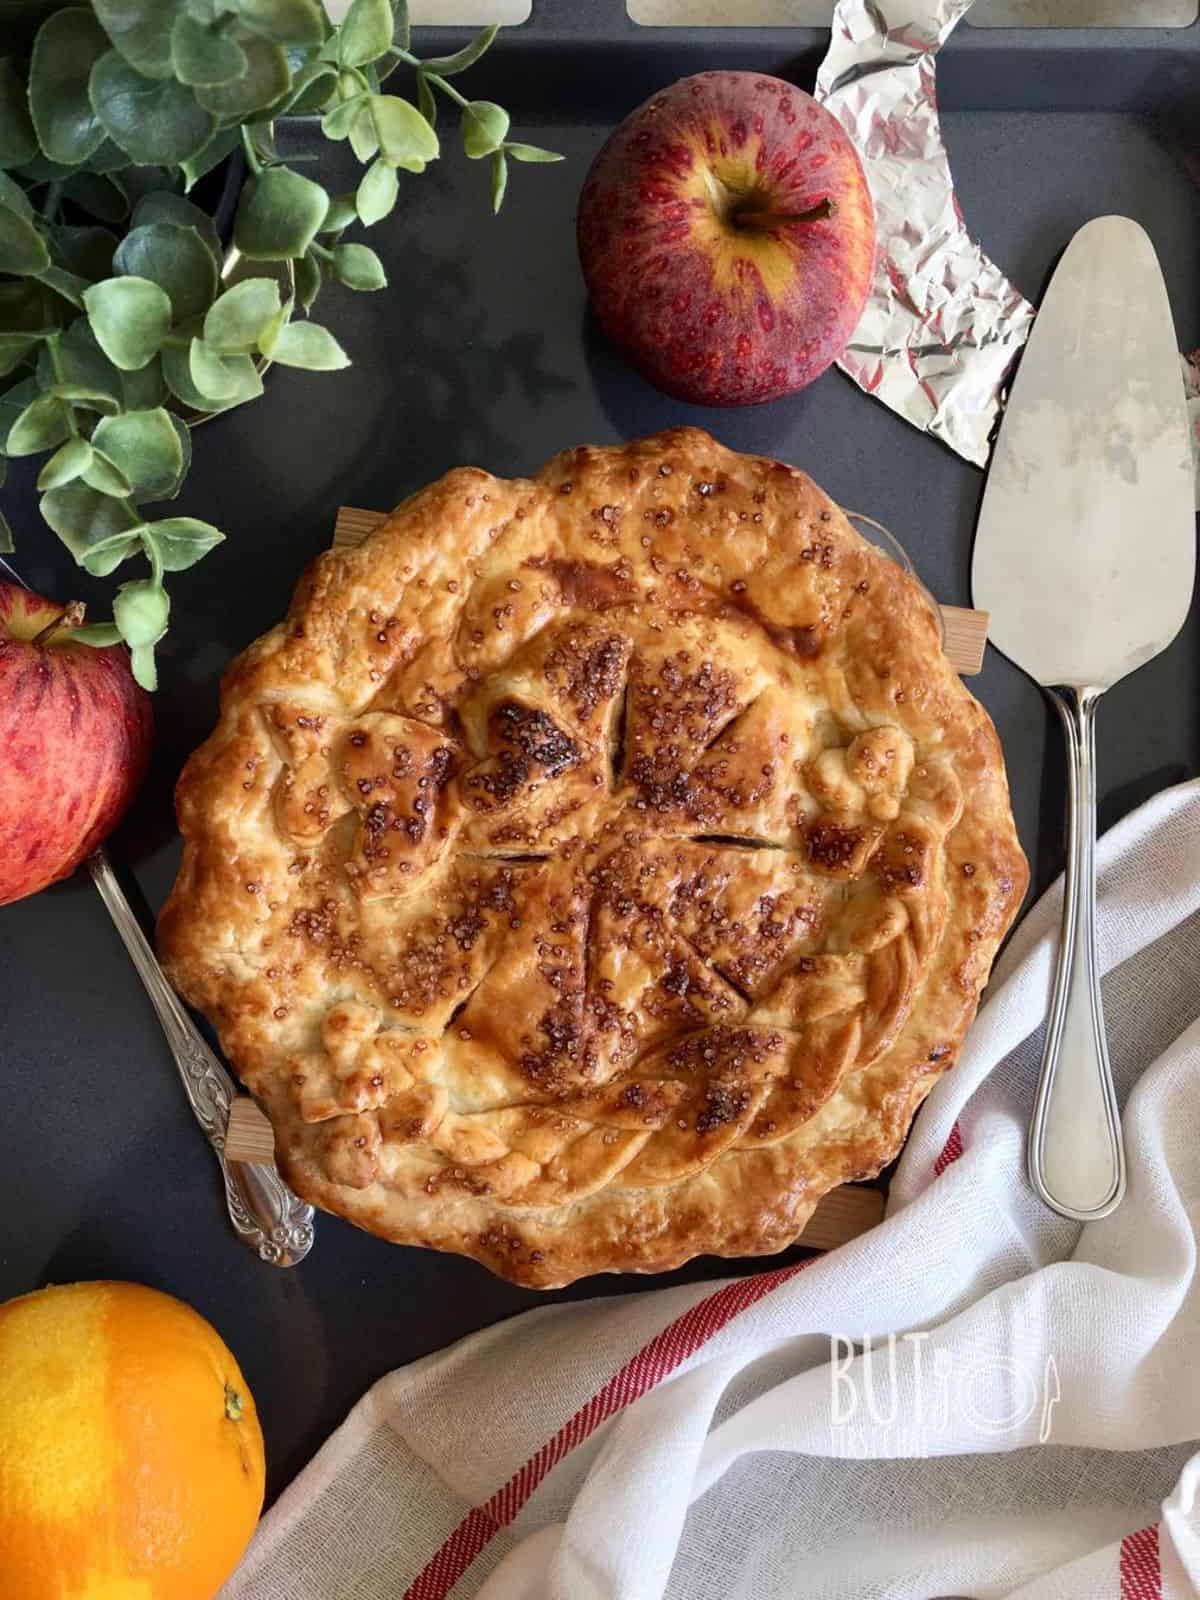
So, guess what? I never really planned on putting up this American apple pie recipe on the blog, but you won't believe the response I got after sharing it on Instagram! Even though I'm no baking pro and I straight-up said this was my first shot at it, folks keep telling me they're super interested in how I pulled it off.
They seem to think that my version could be a bit easier to grasp and follow than the usual ones out there. So, here I am, spilling the beans on what I remember about making it, the recipe I jotted down, and throwing in a few tips that'll smooth out the process for you.
Ingredients
When I planned to make this, most of my favourite chef's popular recipes called for vegetable shortening. Honestly, I don't even have that stuff in my pantry. So, I looked out for a recipe without it and found one on Iron Whisk. It's all about gathering info from the pros and making it work for you, right?
I made everything from scratch so the ingredients includes list for both the pie crust and the apple pie filling.
- all-purpose flour aka plain flour or maida
- white sugar
- butter
- cold water
- apples
- orange zest
- lemon juice
- ground cinnamon
- brown sugar
- egg yolk
- milk
See recipe card for quantities.
Instructions
How to make an all American apple pie in the comfort of your home? Here's the deal: when it comes to making a perfect Apple pie, technique and timing are the real MVPs. We're talking chilled ingredients all the way because we don't want that butter turning into a gooey mess.
Let's break it down into a quick step-by-step: You can scroll down for the detailed recipe card.
- First things first, make the shortcrust pastry, or as the French say, "pâte brisée." I went with an all-butter version because I don't use vegetable shortening.
- Make two portions of that dough and chill them.
- Roll out one for the bottom crust and snuggle it on your pie dish and let it chill in the fridge.
- Next, prepare the apple filling – honestly, the easiest part of the whole recipe.
- Fill up that pie crust with the apple pie filling.
- Time to crown that pie! Roll the other dough and place over the top.
- Seal up those edges and let your creative side out – go ahead and make it look pretty.
- Give it a nice egg wash, pop it in the oven, and bake!
- I know it's tough, but let that baby cool down COMPLETELY before you even think about diving in. I clearly failed to hold back and cut into a runny filling.
- When the time comes, feel free to rock this all American apple pie with some vanilla ice cream or whipped cream, even though I personally dropped the ball on that one!
Equipment
Keep these basics handy:
- food processor or mixie grinder to start the dough
- cling wrap or sustainable alternatives to wrap the dough
- rolling pin
- 7-inch pie dish
- peeler and pairing knife to prep the apples
- microplane grater to grate lemon or orange zest
- mixing bowl
- a rubber spatula
- a small whisk or fork to whisk egg yolk
- pastry brush
- pie shield (make your own with Aluminum foil)
- wire rack
Avoid these mistakes:
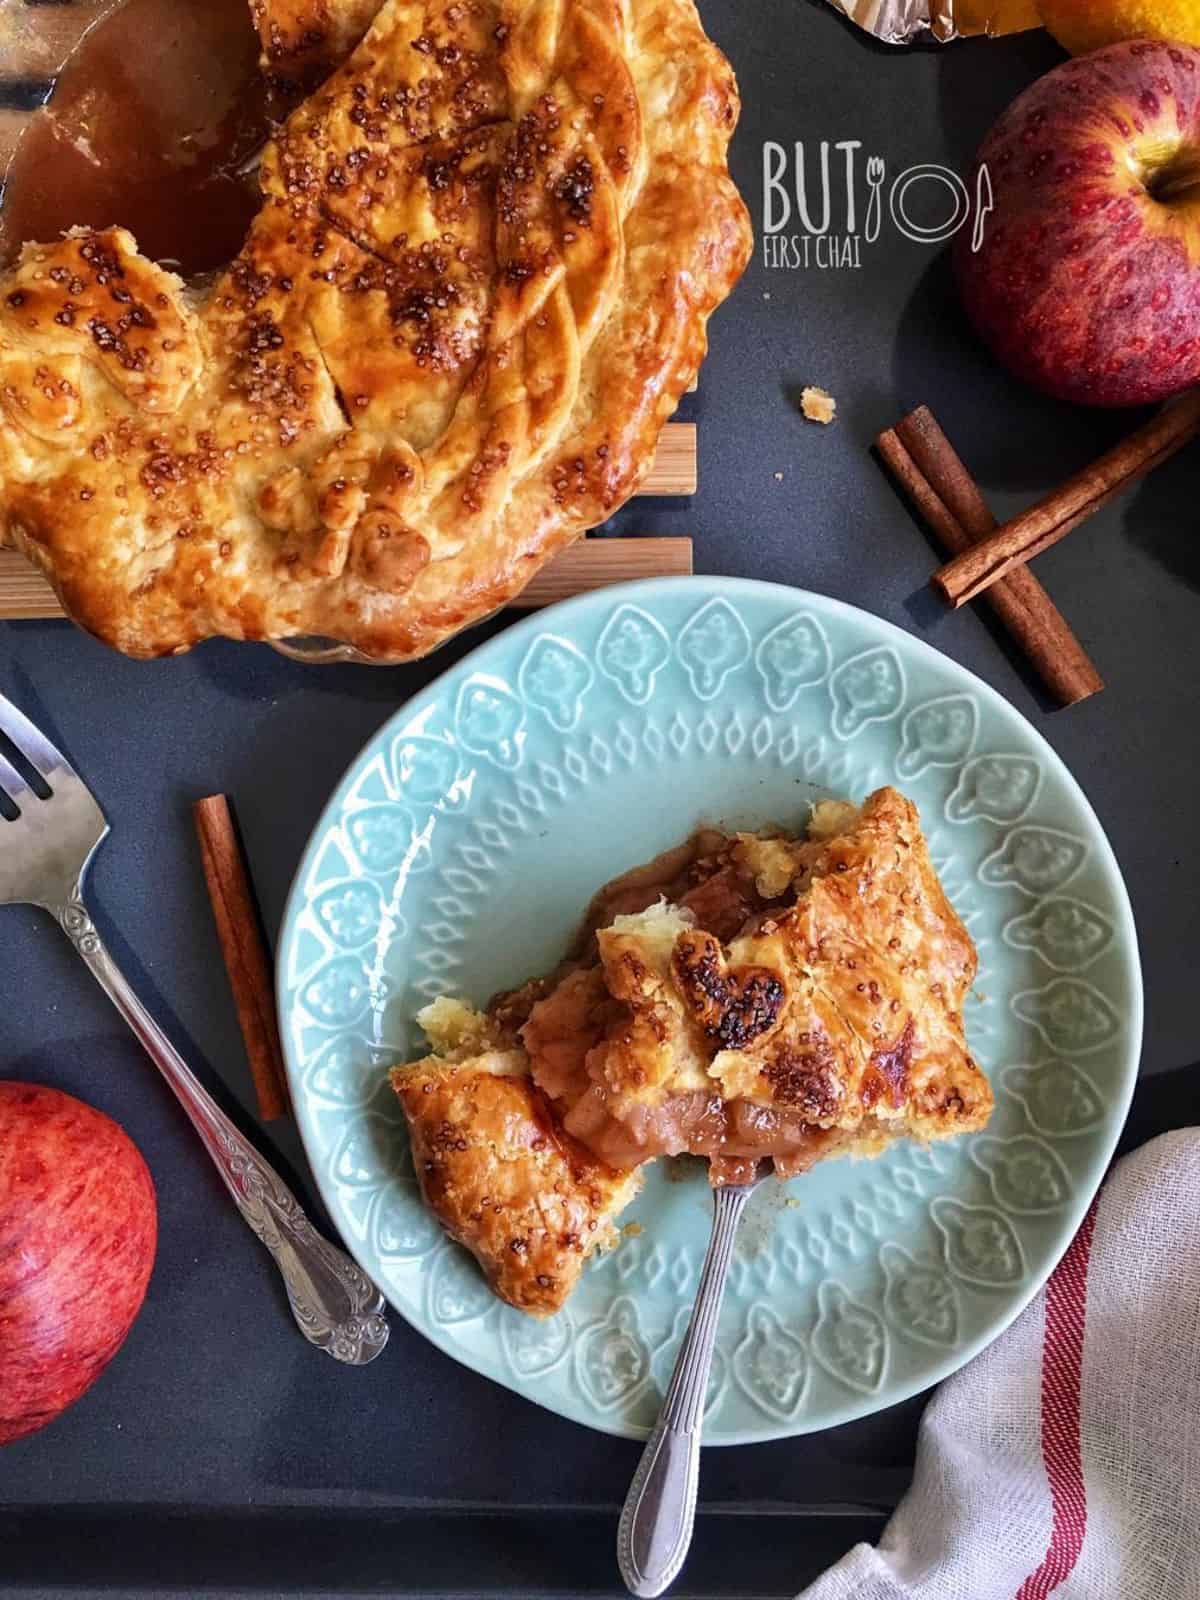
- Stay away from Gala apples, trust me! 😄 I went that route and ended up with a lot of space between my top crust and the filling. Go for Granny Smith, Honeycrisp, and Golden Delicious – those are your players.
- Patience is key, my friend! Let that pie cool down all the way. If you dive in too soon like I did, you'll end up with a filling that's a bit too runny. A solid 3-hour cooling time is the golden rule.
- Oh, and don't forget to pair this American apple pie with some creamy vanilla ice cream. It's a match made in dessert heaven! 🍨🥧
Storage
This recipe is a small 7-inch pie and if you and your partner indulged, I bet there won't be any leftovers. But here are some of the ways your can store this apple pie:
- Counter: Apple pie can stay on the counter a day or two covered with a clean kitchen towel or plastic wrap. Just make sure it's not near anything too warm.
- Refrigerator: If you want to enjoy it for a few more days then, pop that pie in the fridge. Cover it with plastic wrap or aluminium foil to keep it fresh and prevent it from drying out.
- Freezer: Pop it in the freezer uncovered until solid, then wrap it in plastic and freeze. Good to go frozen for 3-4 months. To defrost, take out the frozen pie and let it thaw overnight in the fridge.
- Reheating: Use the microwave for a quick warm-up or heat it in the oven at a low temperature (around 350°F/175°C) for 10-15 minutes.
Related
Looking for other recipes like this? Try these:
This blog post means more to me than just sharing a recipe. It's a virtual memory capsule of what I whipped up for our 6th wedding anniversary – and the cherry on top? It was our very first one in Abu Dhabi. 🍰💑 I consider anniversaries and birthdays as opportunities to tick off any recipes that I have been longing to try!
The pie was at the top of the list. Call it beginner's luck or whatever, but that pie turned out epic – if I do say so myself. 😄So, if you're reading this, I'm hoping it sparks a little inspiration in you to make your first pie.
📖 Recipe Card

My First American Apple Pie
Ingredients
For the Pie Crust: (makes enough for one double-crust 7-inch pie)
- 1⅓ cup all-purpose flour, chilled
- ½ tablespoon sugar
- ¾ teaspoon salt
- 128 grams butter, cold and solid, cut into chunky cubes
- ¼ cup very cold ice water
For the Apple Pie Filling:
- 2 to 3 apples, approx 500gms (preferably the cooking apples like granny smith or golden delicious)
- 1 to 2 teaspoons orange zest
- 1 teaspoon lemon juice
- ¼ teaspoon cinnamon powder
- ¼ cup brown sugar
- 1 to 2 tablespoons all-purpose flour
- 14 grams butter
- a pinch of salt
For the Egg Wash:
- 1 egg yolk
- ½ tablespoon milk
For Garnish:
- sanding sugar, to sprinkle over the top
Instructions
Prepare the pie dough:
- Add the flour, sugar and salt into a mixie or a food processor. Pulse it for a few seconds.1⅓ cup all-purpose flour½ tablespoon sugar¾ teaspoon salt
- Add the very cold and solid butter cubes and pulse again only for a few seconds until coarse crumbs form. Add the ice-cold water a little at a time between pulses just until it resembles coarse crumbs with larger chunks.128 grams butter¼ cup very cold ice water
- Transfer the pie dough onto the work surface and just gather the mixture together to form a ball without "kneading". Divide the dough into two equal portions (roughly), flatten each to an inch-thick disk, cling wrap and refrigerate for at least an hour or overnight.
Prepare the pie crust:
- Work on one dough disk while the other continues to stay in the refrigerator. Dust the counter with flour and roll one portion of the chilled dough. Start rolling from the centre and work your way out, turning the dough with your hands as you go. Spread the dough large enough to cover the depth and sides of the 7-inch pie dish.
- Carefully place the rolled-out dough into the pie plate. Lightly press it to the bottom and sides of the pie dish (ensure the dough overlaps the edge to prevent shrinkage while baking). Refrigerate until needed.
- Roll the second dough ball to the same thickness and refrigerate it until needed or at least 30 mins.
Prepare the apple filling:
- Peel, core and cut the apples into ¼-inch wedges. Toss together apples, lemon or orange zest and juice, sugars, flour, salt, and cinnamon in a large bowl until all the apple wedges are coated. Stir in chilled cubed butter into the apple bowl.2 to 3 apples1 to 2 teaspoons orange zest1 teaspoon lemon juice¼ teaspoon cinnamon powder¼ cup brown sugar1 to 2 tablespoons all-purpose flour14 grams buttera pinch of salt
Assemble:
- Take out the pie dish from the fridge. Carefully arrange the apple filling into the pie crust ensuring to reduce any air pockets.
- Take the top crust from the fridge and place it to cover the pie dish.
- Trim any excess dough from the sides making sure you have enough to pinch both the bottom and top crust together to seal the crust.
- Crimp (curl) the crust by pushing the sealed edge to the pie dish so it makes a wave or fluted design.
- Use a knife and make a few vents on the top crust which will allow the steam to escape while baking and make the pie flaky and crispy.
- Refrigerate to chill the pie dish for about 20 to 30 minutes before egg washing and baking.
Bake
- Preheat the oven to 200℃ with the wire rack on level 2 or level 3.
- Whisk together egg yolk and milk or cream in a small bowl.1 egg yolk½ tablespoon milk
- Lightly brush all of the pie crust with egg wash.
- Sprinkle the sanding sugar.sanding sugar
- Bake for 25 mins until the crust starts to brown.
- Lower the temperature to 190℃ and bake for an hour or until the bottom crust is brown (a glass dish makes this easy to identify).
- Tent with foil if the crust browns too quickly. (something like this)
- Let cool completely on a wire rack for more than 3 hours.
- Serve warm or cold with or without ice cream!
- Cover pie leftovers tightly and store them in the refrigerator for up to 5 days.




Famidha Ashraf says
I recently made apricot pie using the same pie crust recipe here. I must say, I surprised myself with the lattice this time. Perfectly small batch!