
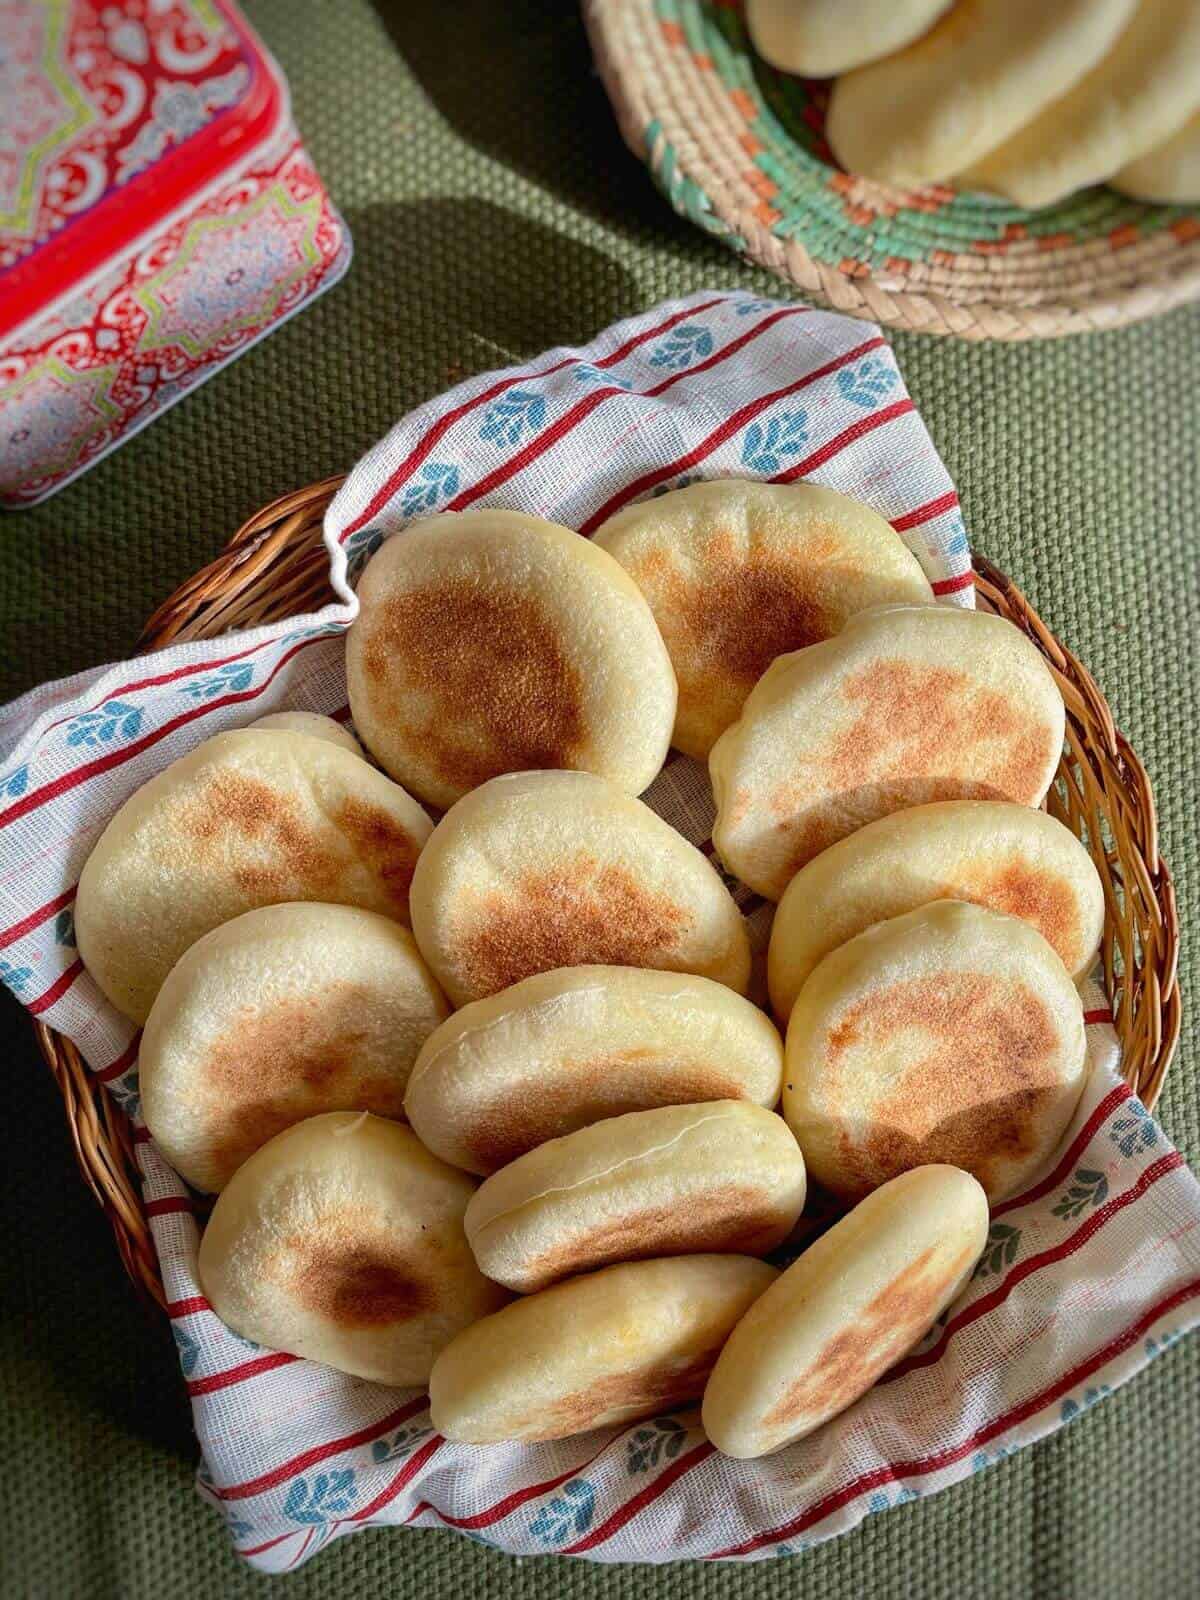
Introducing my Batbout recipe: These cute Moroccan mini pita breads are cooked on the stovetop! They boast a slightly crispy outside and soft, pillowy inside, perfect for stuffing with your favourite savoury or sweet fillings. Ready to make Mini Batbouts? You'll be amazed at how easy it is to recreate this delicious treat at home!
The first time I tried making Moroccan Batbout was when I found myself without bread on a Friday in Yanbu, Saudi Arabia. With shops closed until late, I had to get creative for our chicken sandwiches. As I didn't have an oven then, I opted for this stovetop bread recipe I'd pinned. Seeing the dough puff up on the stove was pretty cool, and soon, my whole place smelled like a bakery!
Jump to:
📋What is Batbout?
Batbout is a kind of Pita, home to Morocco that puffs up, creating pockets to fill. The addition of semolina flour makes this bread different from the more famous Levantine pita. You may come across it being called mkhamer, toghrift or matlou'. These are leavened using yeast and are usually stuffed or served with grilled meat or vegetables.
Like Moroccan Msemen and Meloui, Batbouts don't stick to one recipe. Some use equal parts fine semolina and flour, others go heavy on the flour. They're big during Ramadan and you can stuff them with whatever you like.
🥘Ingredients & Substitutions
A simple bread with ingredients you can easily find or may already have. You don't have to use the same brand of flour - any brand that your local store sells will work. Just look for "fine semolina" and not coarse or roasted rava etc.
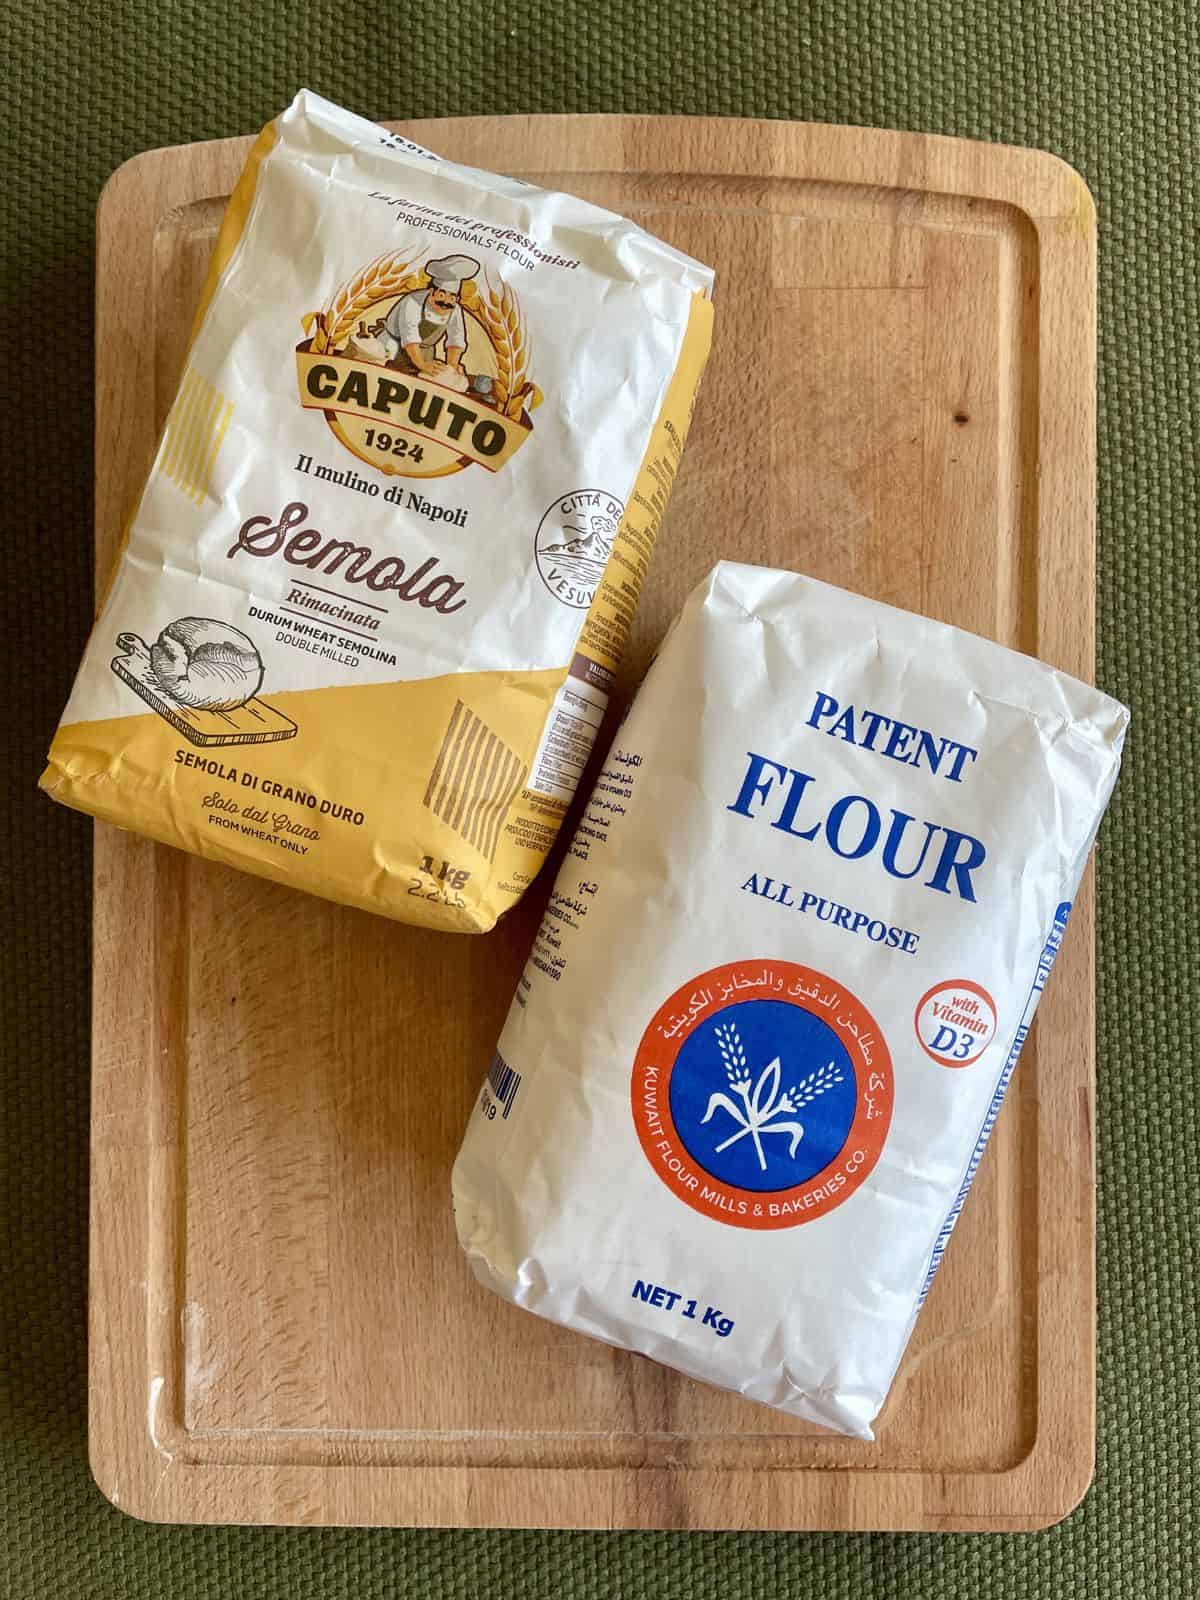
- Fine semolina aka semolina flour
- All-purpose flour: You may replace half with whole wheat flour
- Instant yeast or sourdough starter
- Salt and sugar
- Olive oil: You can swap out the olive oil for any other neutral oil or ghee if preferred.
- Lukewarm water OR milk
See recipe card for quantities.
🔪Instructions
You will need to dedicate a few hours to make this batbout recipe. The key steps include kneading the dough and allowing it to rest as required. For the full recipe and print version please scroll down to see the Recipe card.
The Dough
For making the dough, you can use your stand mixer but I want to show you it is possible without it too.
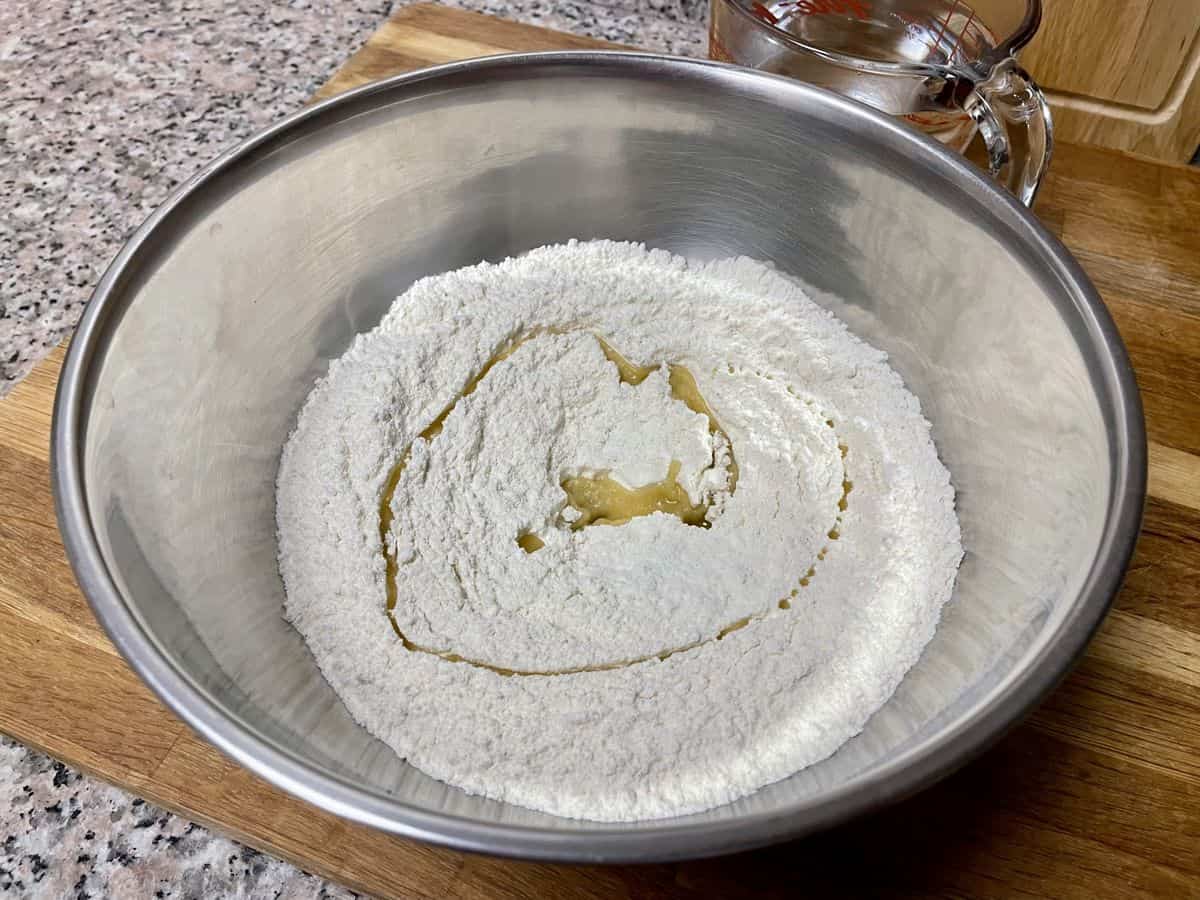
Add and mix all the dry ingredients like flour, instant yeast and salt. Next, drizzle the olive oil and use your hands to mix well. Optionally, at this point, you can add a teaspoon of your favourite herb like oregano etc.
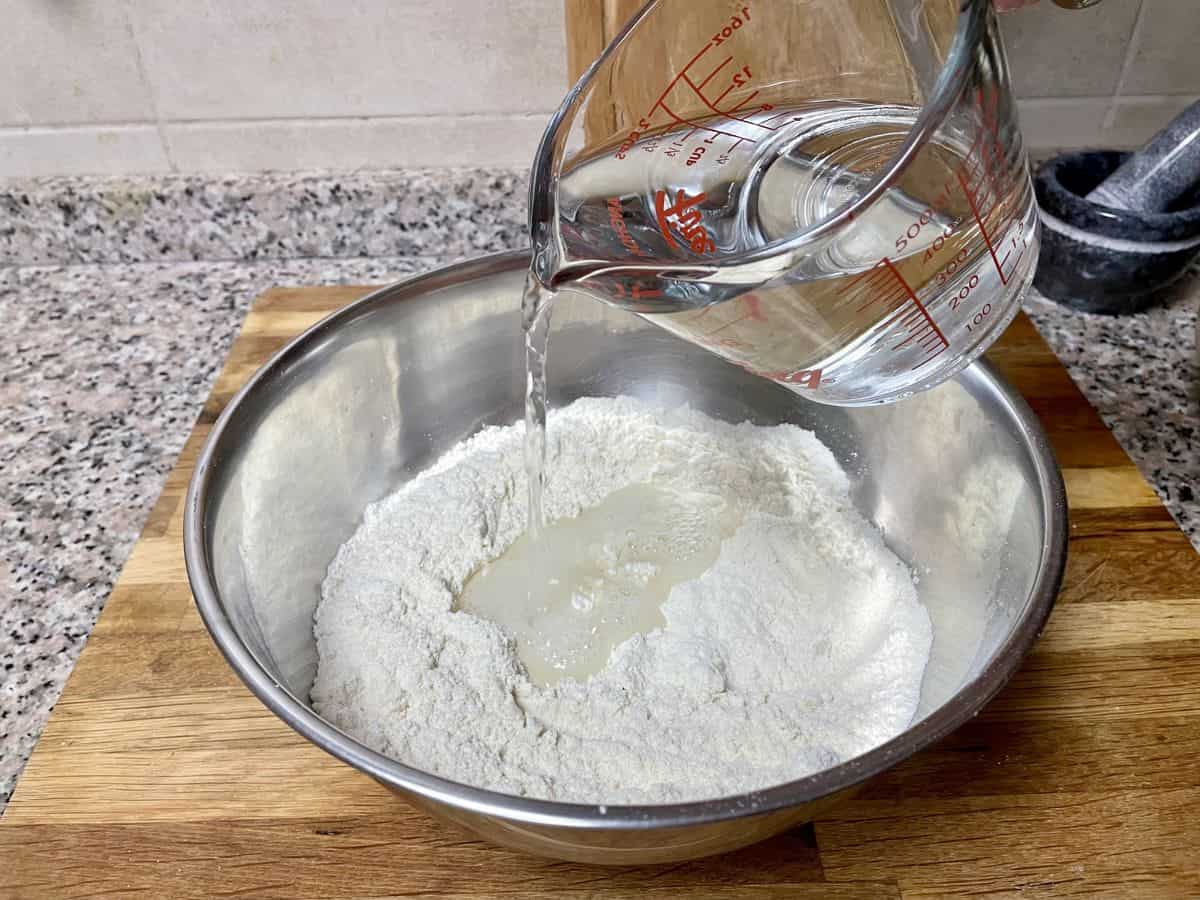
Gradually pour the lukewarm water. You can replace some of the water with milk or use all milk instead. Optionally, you can also add a tablespoon of milk powder to the dry ingredients.
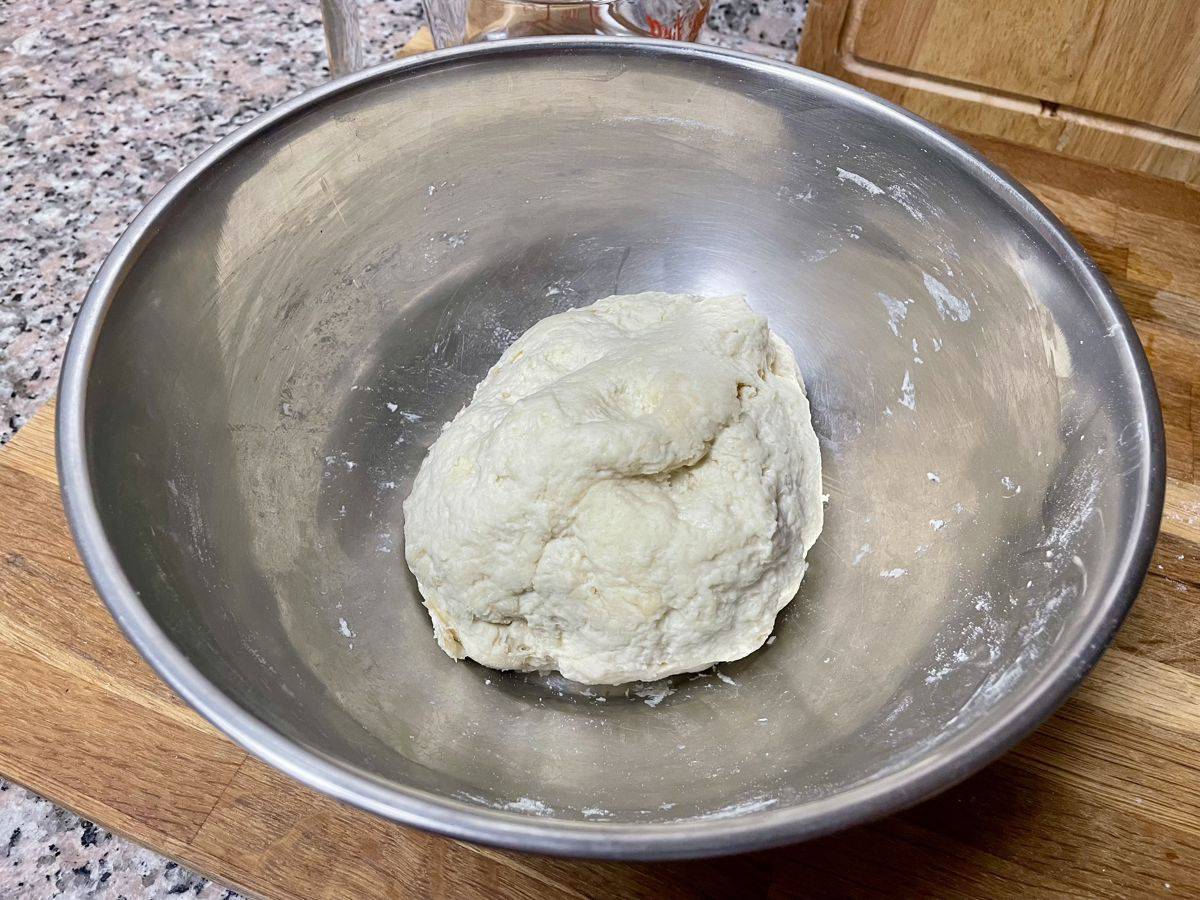
Initially use a wooden spoon to mix the flour and water. Then use your hands to just bring together the dough into a rough ball. Cover and let it rest for 10 mins.
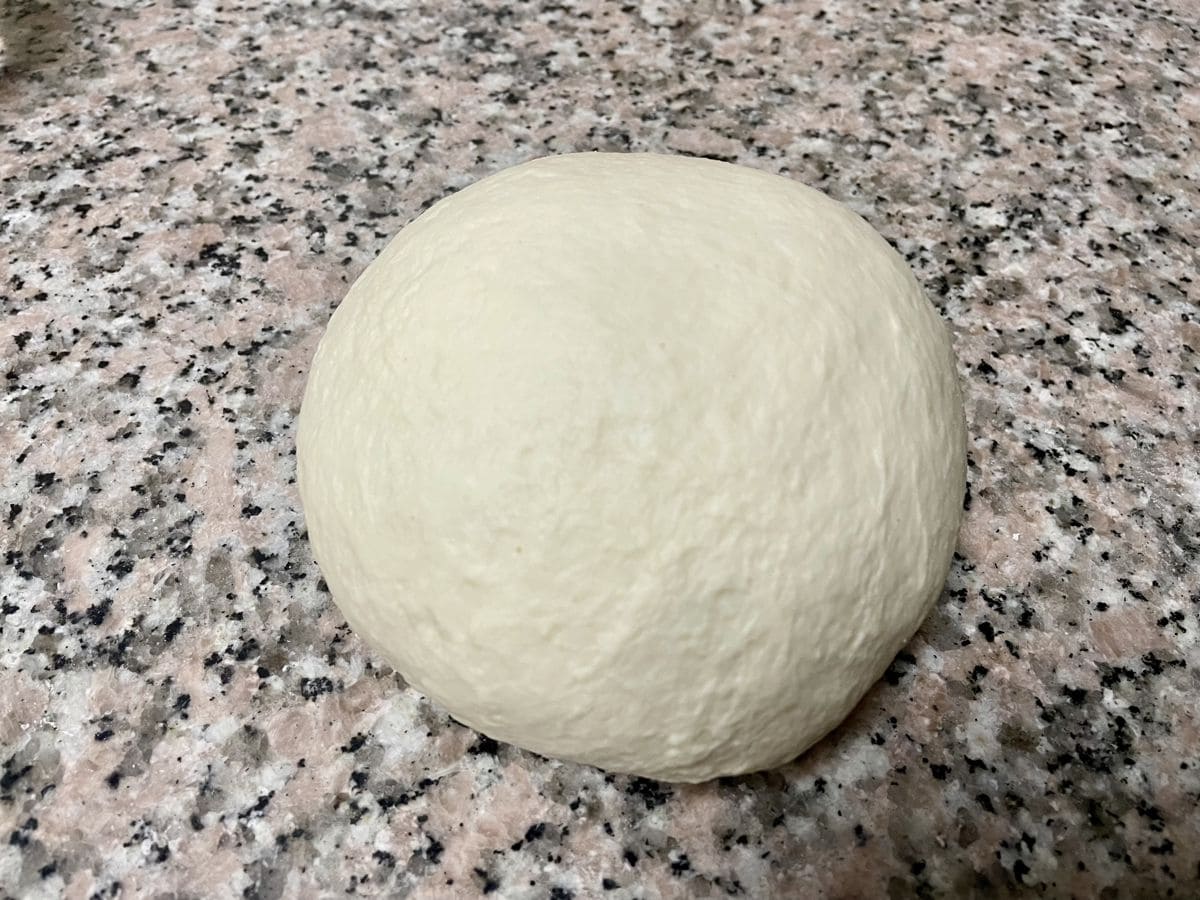
Transfer the dough to a floured surface and start kneading it. Use the heel of your palm to stretch and knead. for at least 10 minutes. You can rest the dough and knead again if your hand hurts.
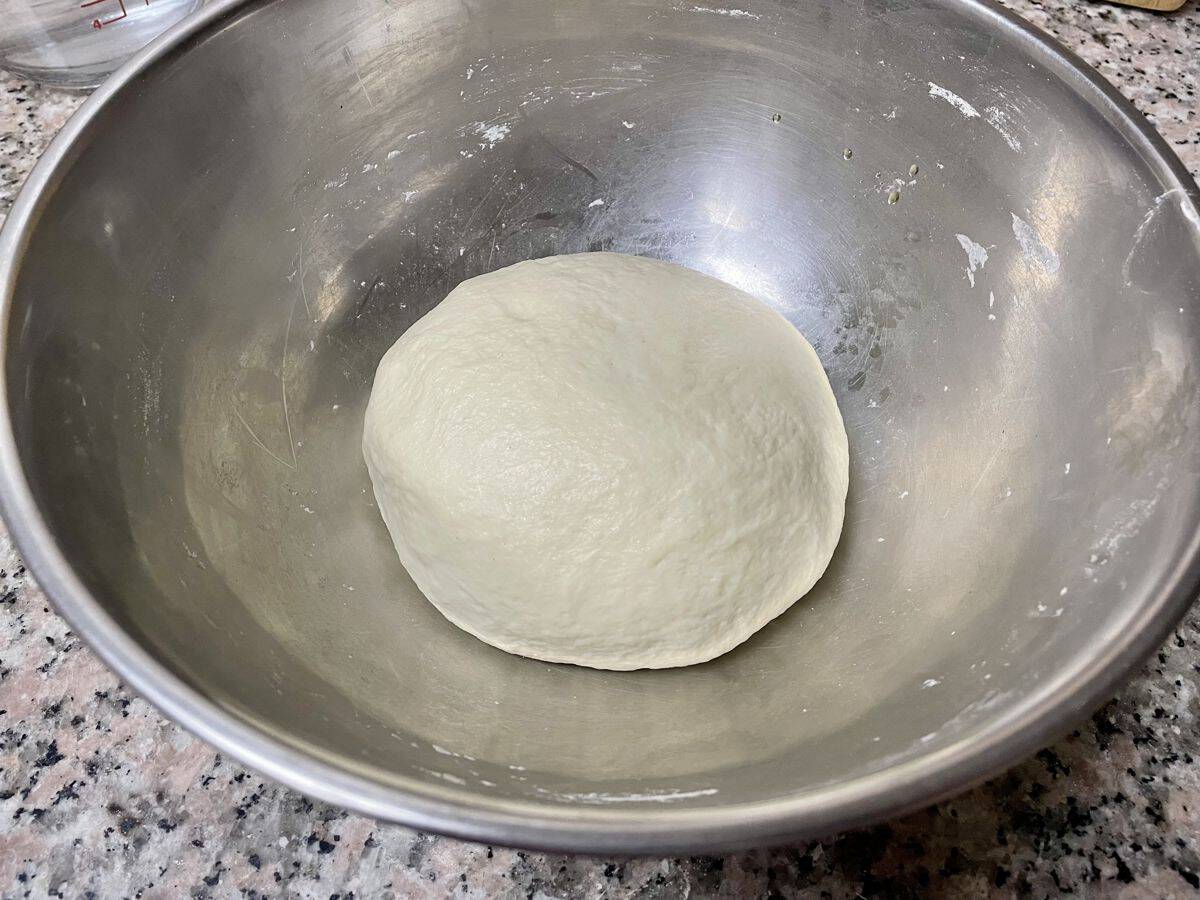
Place the dough back in the bowl and cover it. Let it rest for 20 to 30 minutes. You don't have to use any oil.
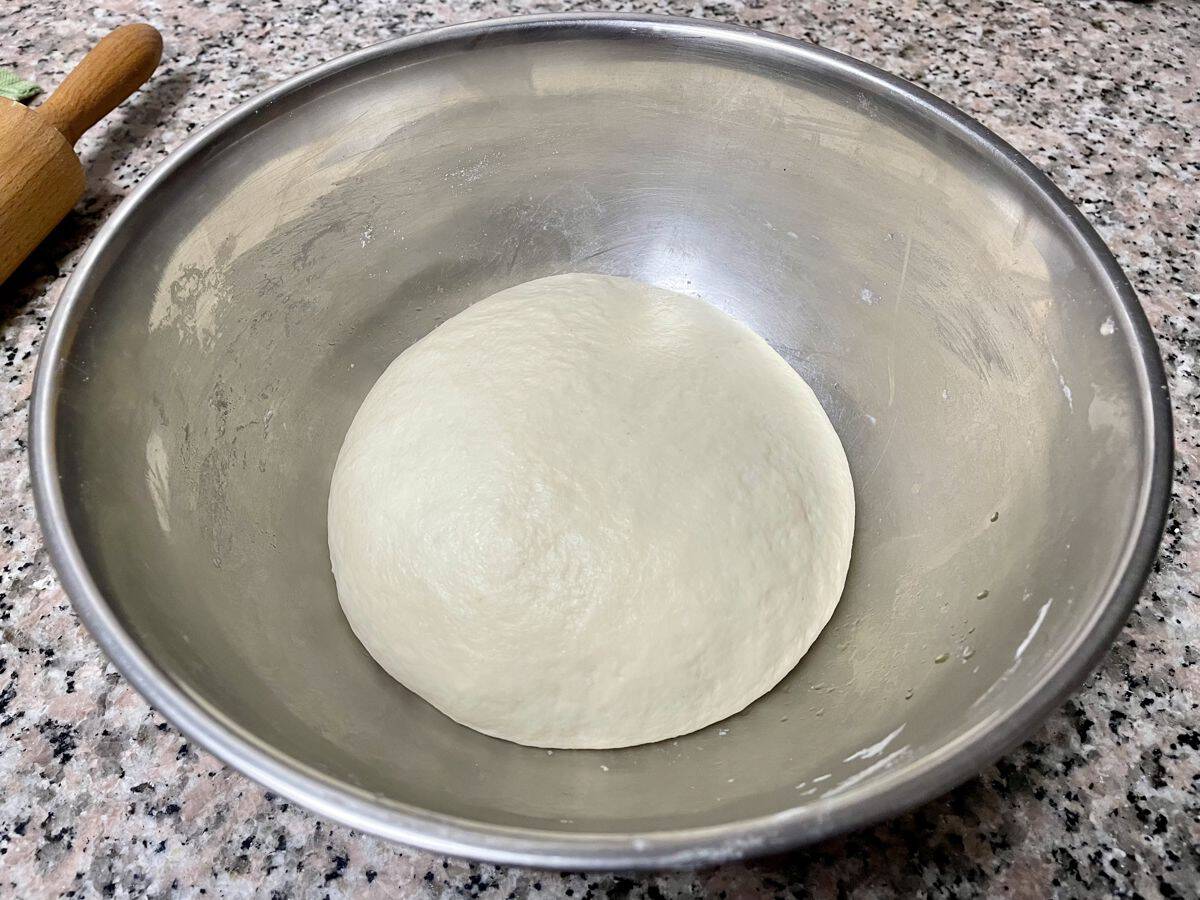
This is after 30 minutes. Depending on your work surface and rolling pin size, you can roll out the entire dough or divide it into two portions for better control. Working with smaller portions allows for easier handling and shaping.
⏲️While the dough is resting, prepare a clean space on your countertop for the cut circles of dough to rise. I prefer using one countertop for rolling and another for rising. Place a clean kitchen cloth on the surface and dust it with semolina flour or rice flour. Cover the dough circles with another kitchen cloth or the other end of the cloth.
Shape & Rise
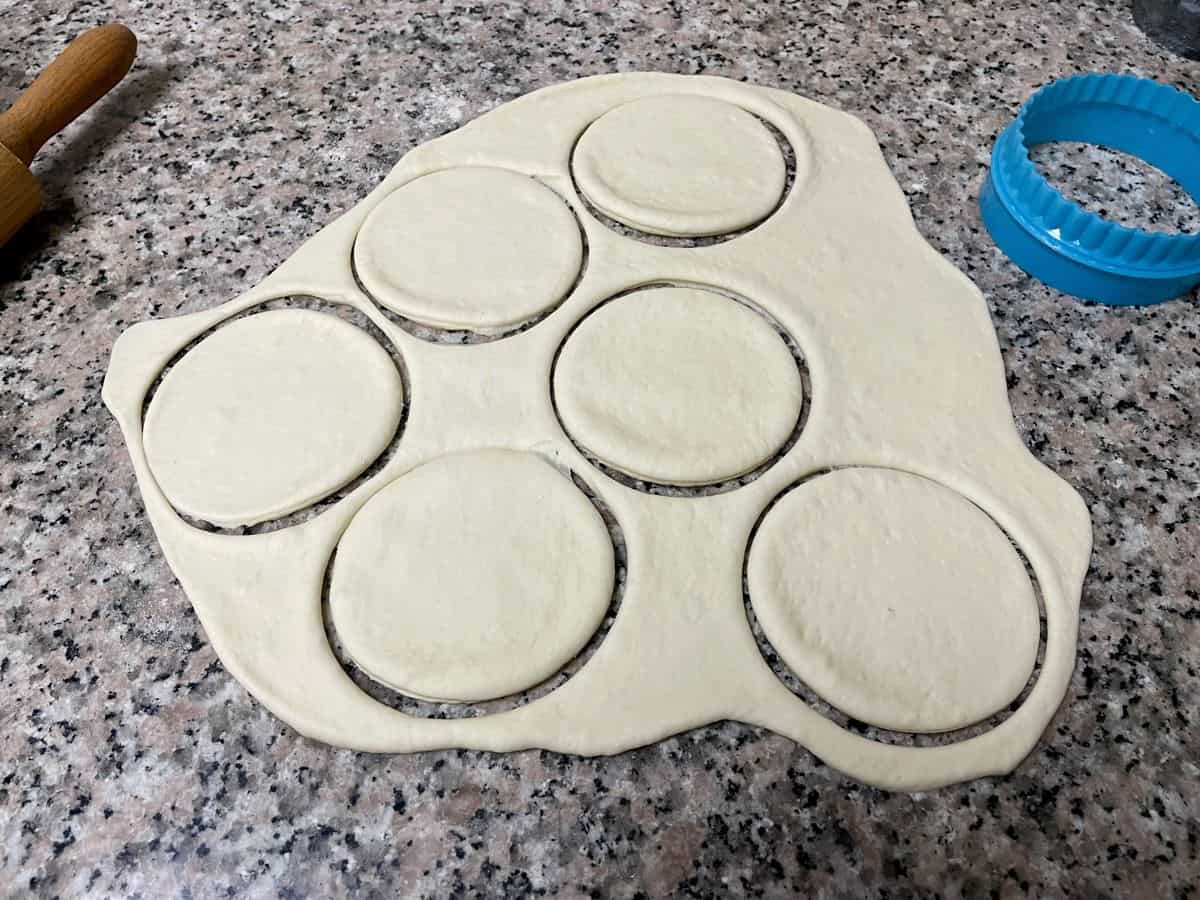
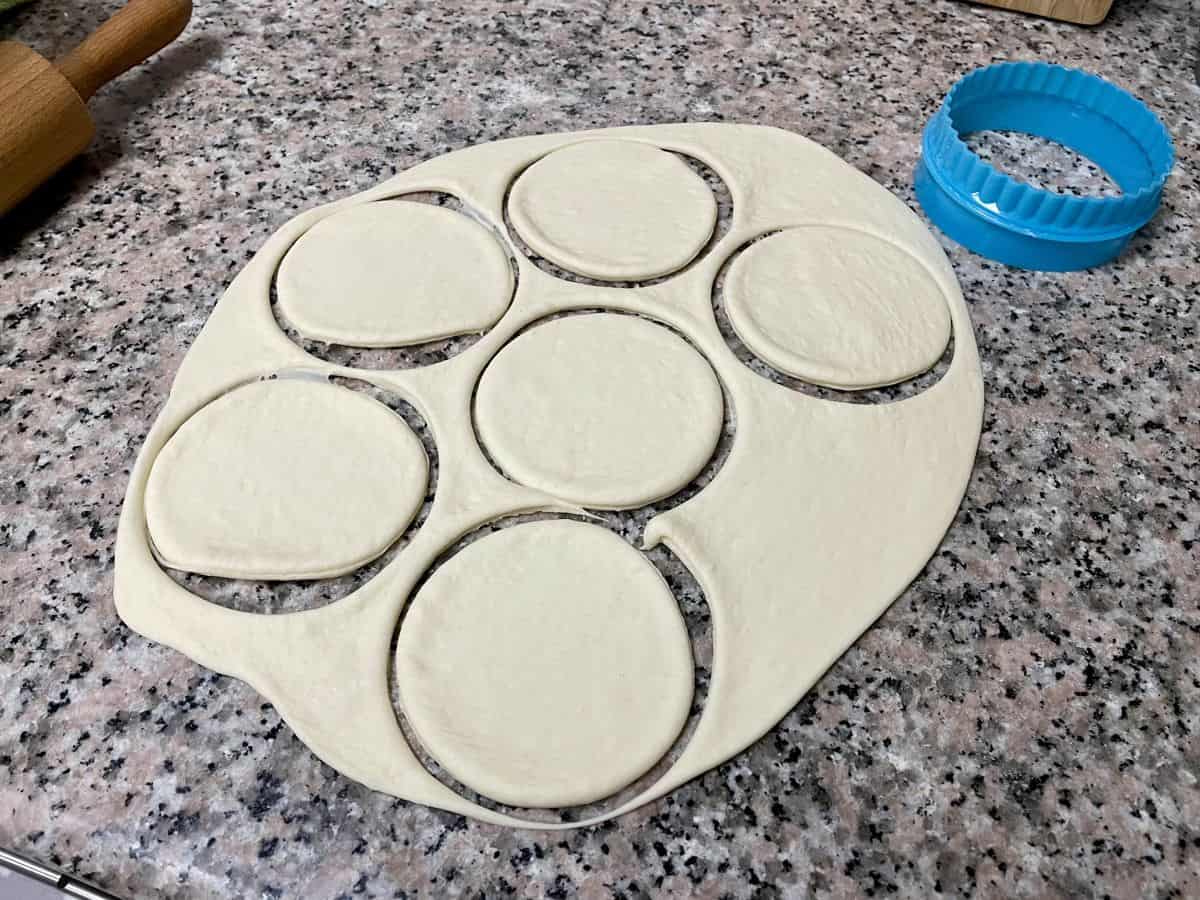
I chose to divide the dough into two portions. Roll on a lightly floured surface to about ⅛ inch thick. Use a glass or cookie cutter to cut maximum rounds. The size doesn't matter and is a personal preference.
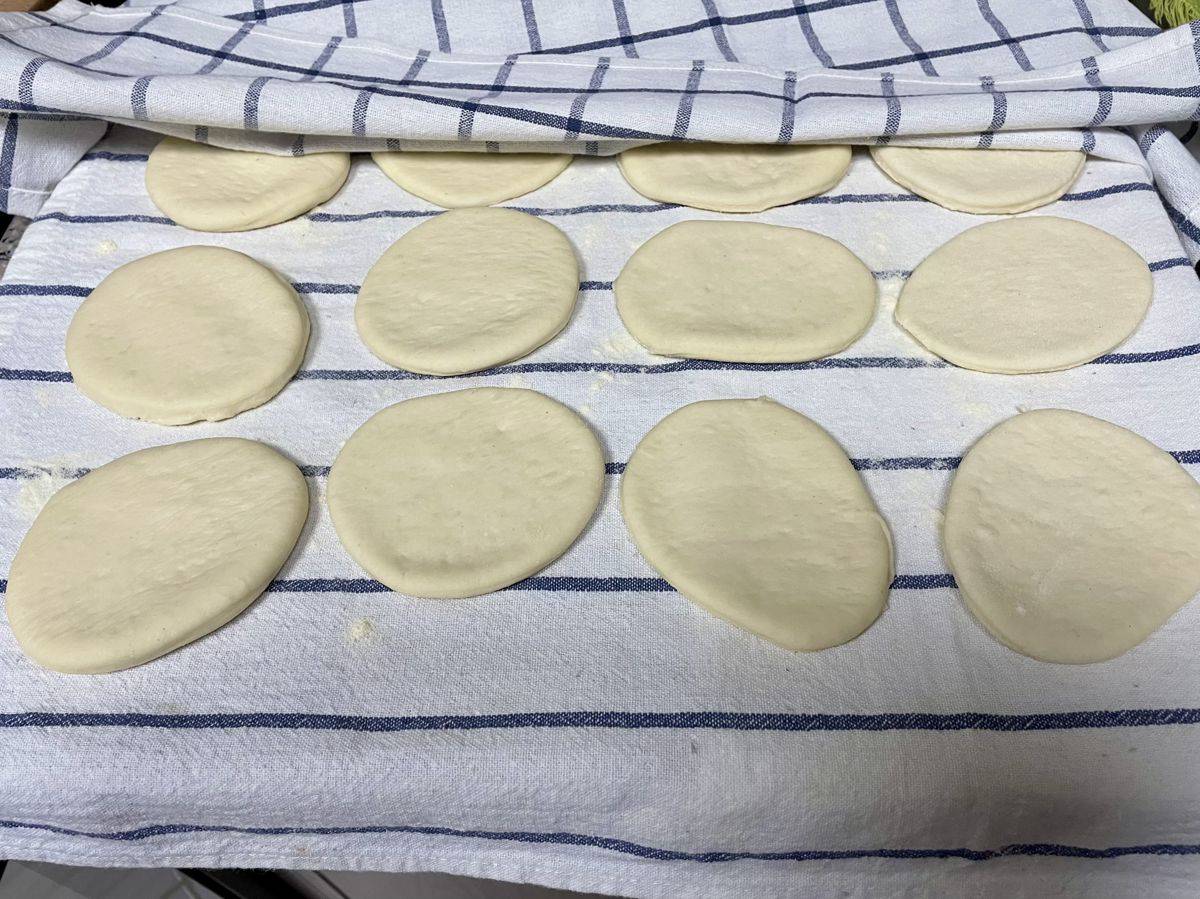
Gently pick the cut-out batbout one by one, place them on a prepped kitchen towel and keep them covered. Make sure there is little space between each.
Gather the remaining dough, shape them to a smooth ball, and let it rest covered in the bowl. Repeat the process with the remaining dough.
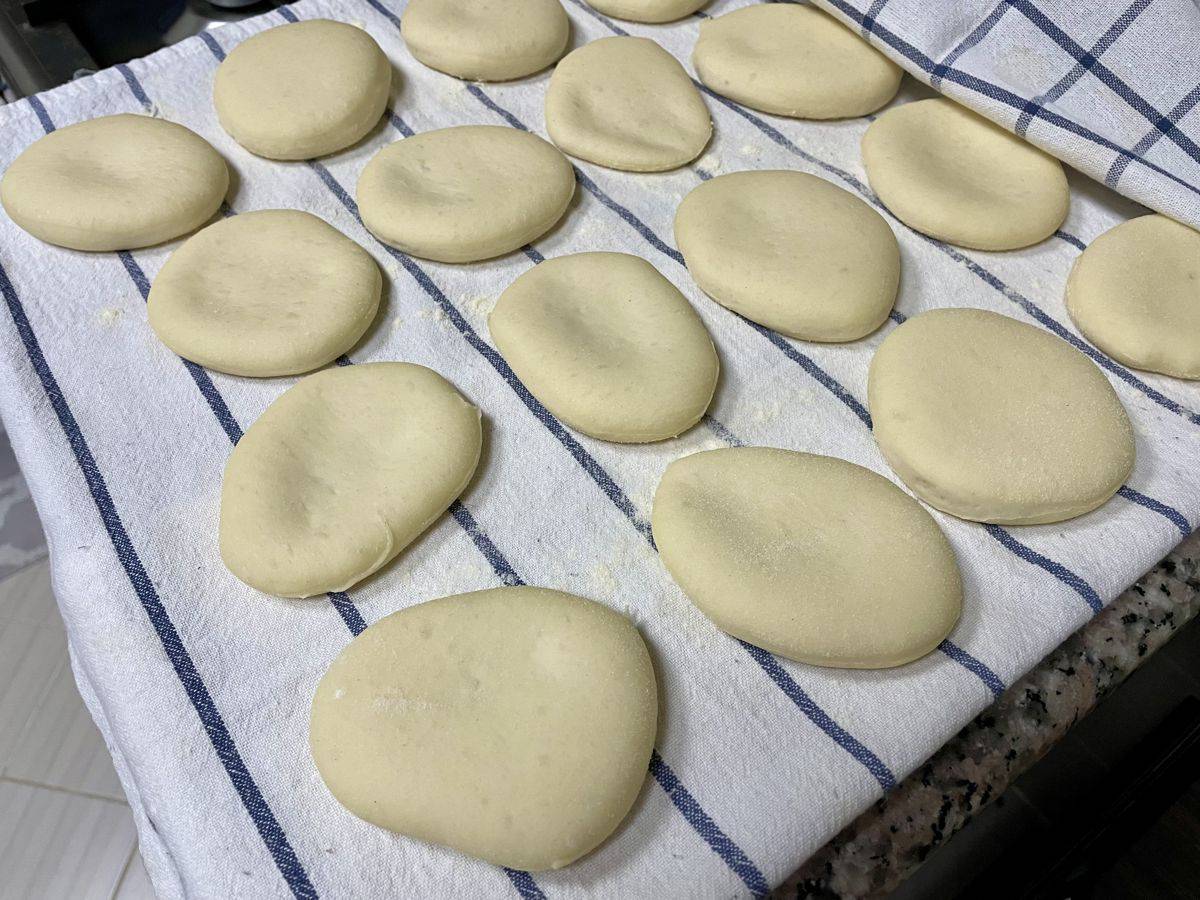
Let the dough rounds rise for about 2 hours or until doubled in size. The total time can vary based on the weather and room temperature.
Cook
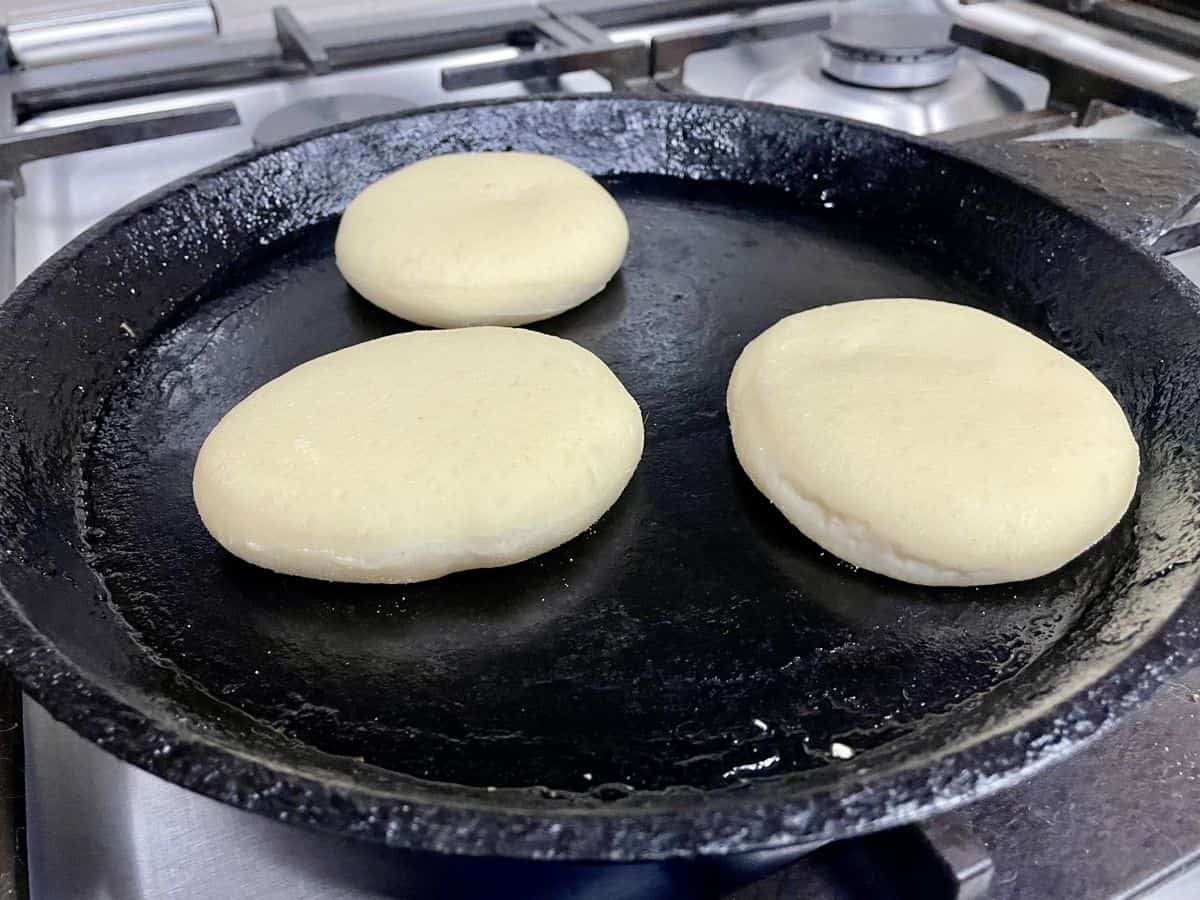
Heat a thick-bottomed or cast iron pan over medium heat until very hot. Carefully transfer the first Batbout to the pan. I would recommend cooking one or two initially so you get a hang of it. Then you can add as many as the pan can hold comfortably.
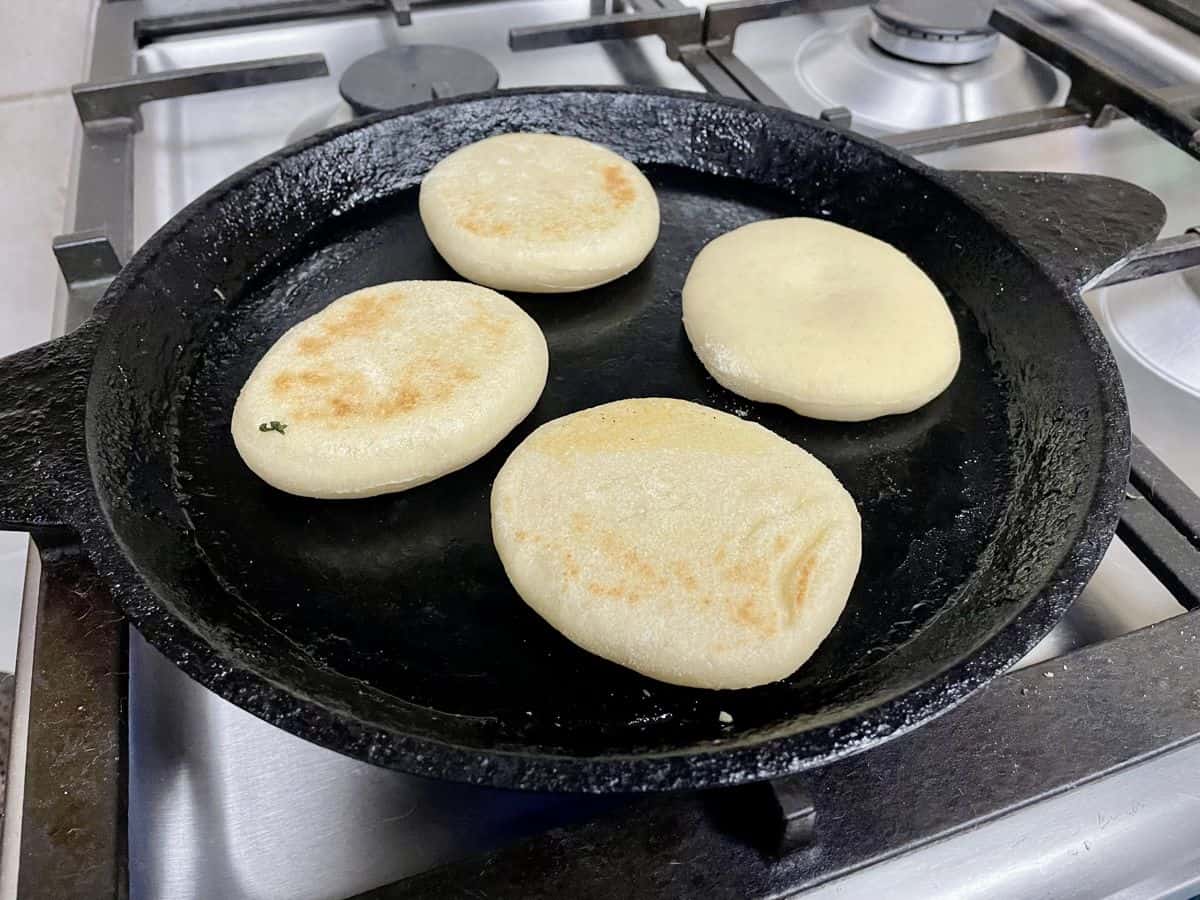
Flip the Batbouts within seconds and continue flipping until both sides are golden brown. You can use a small wooden spatula or spoon. They'll puff up as they cook, and the browning may be uneven. Remove when it becomes light and puffed.
To make sure each batbout puffs up (which creates the pocket), avoid pressing them down while cooking. I know we kinda love to do that with parathas, right? but don't- batbout will puff up while we gently keep turning them.
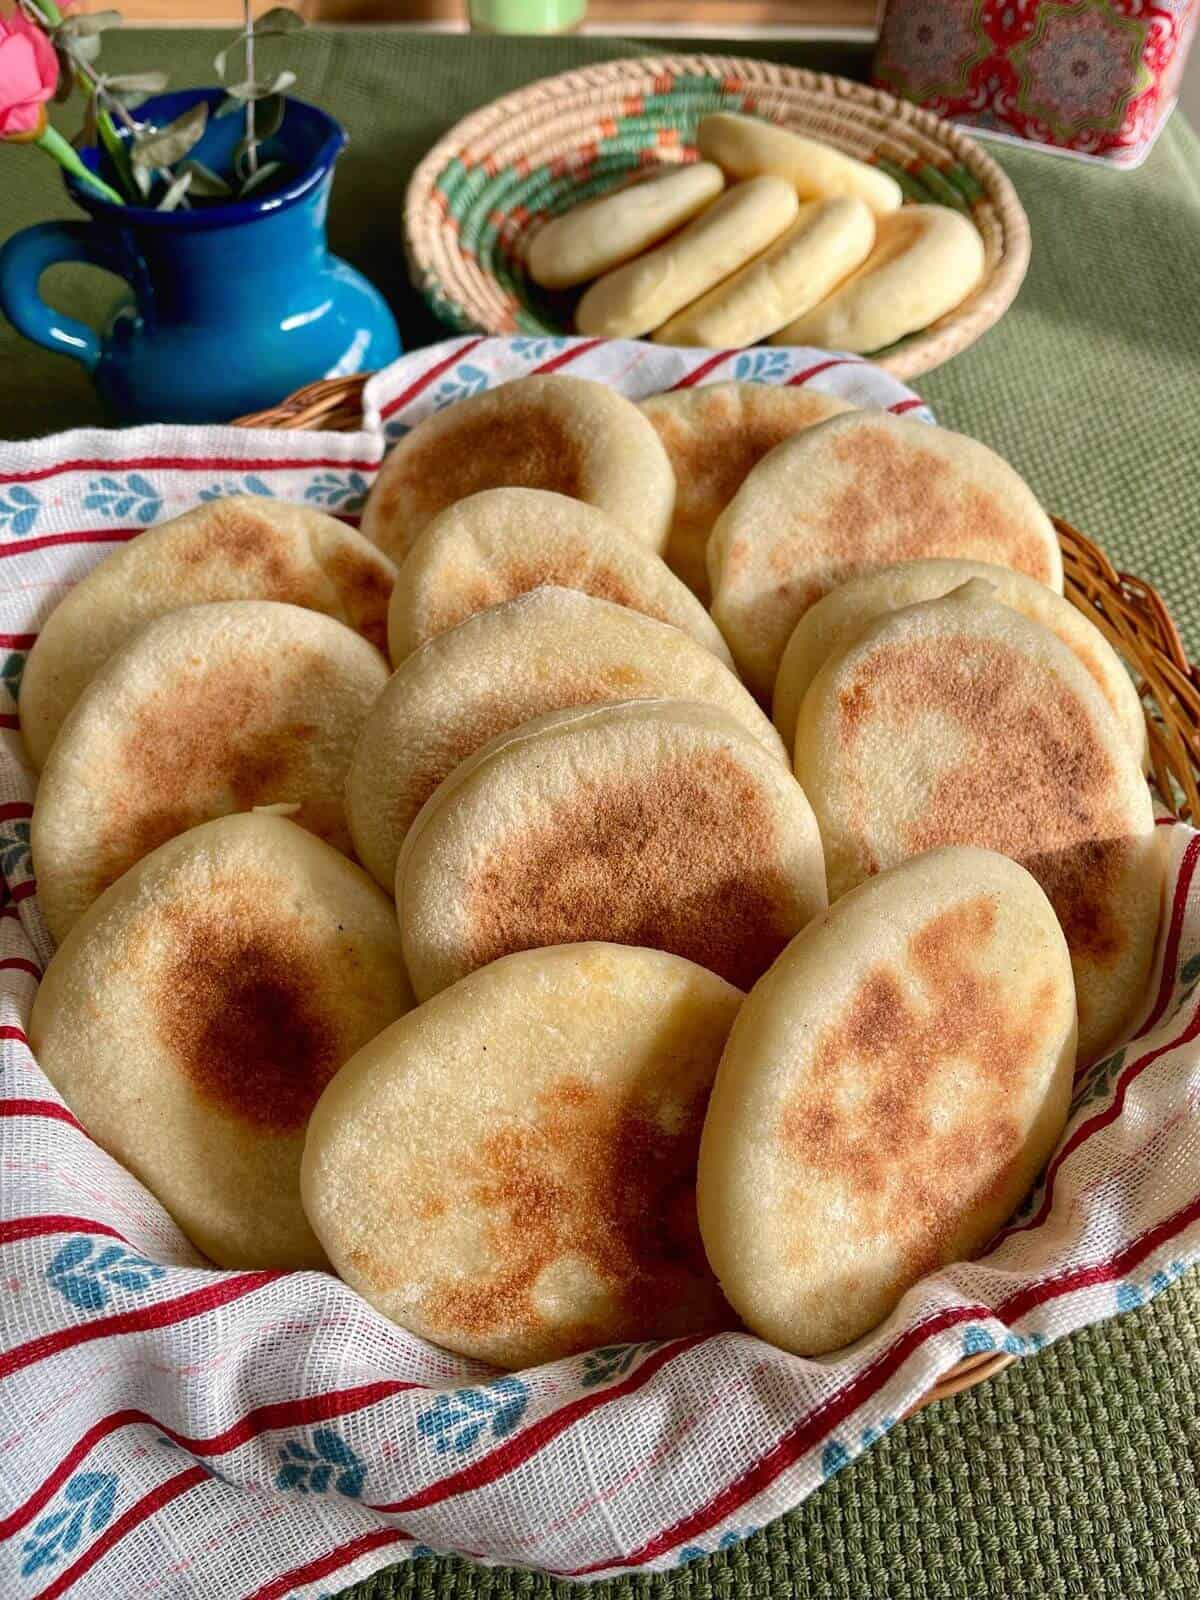
Transfer the cooked Batbouts to a towel-lined basket. Serve immediately or allow to cool and store for later use. Enjoy them as is, or partially slice them and fill them with your choice of fillings like kebabs, tuna, or roasted veggies.
💡Tips
- Adjust the yeast quantity based on the weather or kitchen temperature; reduce it in hot or dry climates to prevent rapid rising and a dry crust, and allow extra time for rising on cold days.
- Let the dough rest - don't skip or rush it.
- Keep the dough covered at all times to prevent drying out.
- Use semolina flour or rice flour for dusting purposes.
- Do the rolling and cutting process in one go, so they can all rest and rise.
- Start cooking the earliest set of rounds so the rest have time to rise before you get to it.
- Handle the batbout rounds gently while transferring to the pan and during cooking to avoid deflation.
❄️Storage
For storage, stack your batbout in an airtight container or sealed plastic bag at room temperature for up to two days. If you need to store them longer, freeze them in a freezer-safe bag or container for up to one month. Simply thaw them at room temperature or gently warm them in the oven before serving. You can also use your toaster to thaw frozen batbouts immediately.
🥙How to stuff mini Batbout?
Stuffing mini batbouts is easy! Here's how:
- Take a mini batbout hold it in one hand and use a knife to carefully make a small incision along the edge of the batbout, creating an opening.
- Gently widen the opening to create a pocket inside the batbout. (Be careful as sometimes the steam release can burn your fingers)
- Fill the pocket with your desired ingredients, such as grilled meats, cheese, vegetables, or spreads.
- Enjoy your stuffed mini batbouts as a delicious snack or meal!
Now, some batbouts may not have "pocket" but they are still edible! You can use the knife to slice them all the way and use it like a burger bun.
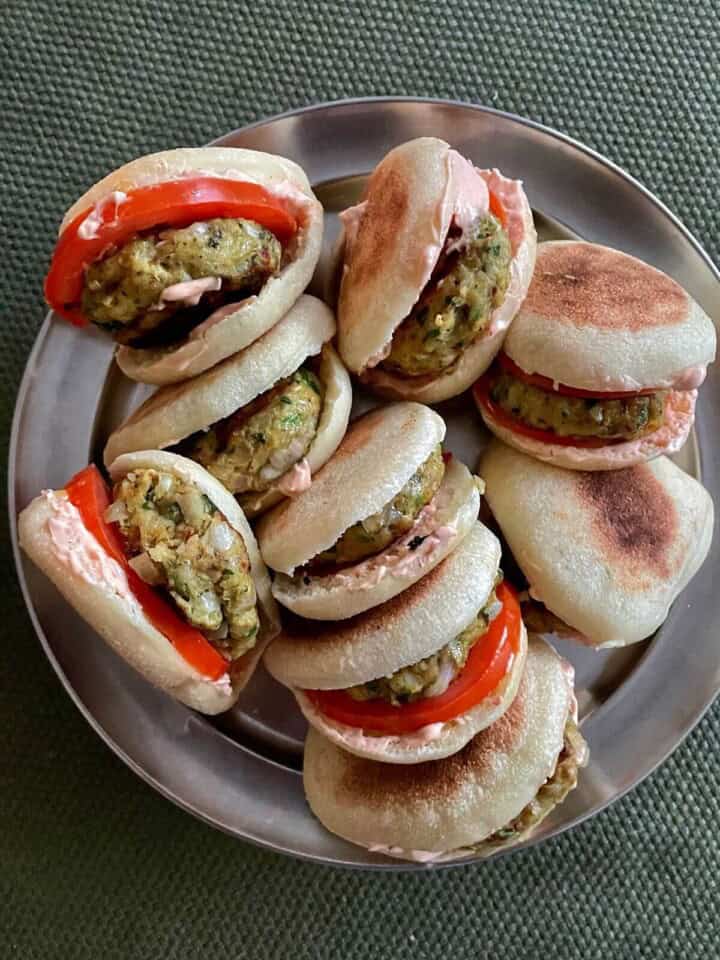
Here is how I had made a quick stuffed batbout for Iftar:
- Sauce: labneh mixed with hot sauce and a little mayo
- Veggie: sliced tomato
- Meat: cooked chicken kofta
💡Variations
Here are some tasty ways to customize your mini Batbouts:
- Cheese-filled Batbouts: Stuff them with your preferred cheese like labneh, cream cheese, grilled halloumi, or crumbled feta for a savoury treat.
- Sweet Batbouts: Indulge in sweet fillings like Nutella, peanut butter, banana slices, or fruit preserves for a delightful dessert or snack.
- Vegetarian Batbouts: Fill them with grilled or roasted veggies, hummus, or avocado for a satisfying vegetarian option.
- Meat Lover's Batbouts: My favourite. Load them up like a burger with grilled kebabs, cheese, and veggies for a hearty meal.
Get creative and mix and match these variations, or invent your fillings to make your mini Batbouts uniquely delicious!
🙋🏽♀️FAQ
Yes, you can substitute whole wheat flour for all-purpose flour, but keep in mind that it may result in a denser texture. I would suggest replacing 50% of the plain flour with wheat flour.
Yes, you can prepare the dough ahead of time and refrigerate it overnight. Just make sure to let it come to room temperature before rolling and cooking the batbouts.
While fine semolina adds a unique texture to batbout, you can make them using only all-purpose flour if you prefer. Just be aware that the texture may be very soft and will lack in structure.
A typical Moroccan breakfast (outside Morocco :-)) consists of bread served with butter, honey, or jam, accompanied by Moroccan mint tea. Other common dishes include Msemen or Rghaif (flaky flatbreads), Bissara (fava bean soup), and eggs prepared in various styles. Fresh fruit and olives may also be served to complement the meal.
Moroccans commonly eat a variety of bread, including Khobz (round, flatbread), Baguette (French-style bread), and Batbout (soft, round bread cooked on the stovetop). Msemen and Rghaif are also popular choices, known for their flaky texture and versatility. These breads are often served alongside meals or used to make sandwiches and snacks.
Here are some examples of Moroccan breakfasts include:
Khobz: Round, flatbread served with butter, jam, or honey.
Baghrir: Moroccan pancakes with a spongy texture, typically drizzled with honey or syrup.
Msemen or Rghaif: Flaky, layered flatbreads often enjoyed with butter and honey.
Moroccan Pastries: Delicate pastries like Chebakia (sesame-coated fried dough), M'hanncha (almond pastry), or Briouats (stuffed and fried pastries).
🍲Related
Looking for other recipes using fine semolina? Try these:


🥗Pairing
These are my favourite dishes to stuff or serve with mini batbout:


Recipe inspired and adapted from the talented Fatemahisokay.
📖 Recipe Card

Mini Batbout | Moroccan Pita bread
Ingredients
- 1 cup all-purpose flour
- 1 cup whole wheat flour
- 1 cup fine semolina, (semolina flour)
- 1 teaspoon instant yeast, or 50g starter
- 1 teaspoon sugar
- 1 teaspoon salt
- 1 tablespoon olive oil
- 1 ⅓ cups lukewarm water, (or full-fat milk) Approx
- semolina flour, or flour (for dusting)
Instructions
Prepare the Dough
- Combine all the dry items like flour, fine semolina, sugar, salt, and yeast in a mixing bowl.1 cup all-purpose flour1 cup whole wheat flour1 cup fine semolina (semolina flour)1 teaspoon instant yeast or 50g starter1 teaspoon sugar1 teaspoon salt
- Add the olive oil and choice of herb if using and give it a good mix.1 tablespoon olive oil
- Gradually start adding the lukewarm water or milk and use a wooden spoon to mix. Then use your hands to just bring together the dough to a rough ball. Cover and let it rest for 10 mins. This will ease the hand-kneading process.1 ⅓ cups lukewarm water (or full-fat milk) Approx
- Transfer the dough to a lightly floured surface and knead for about 10 to 12 minutes or until smooth. Press and push the heel of your palm into the ball of dough, stretching it away from you. Lift and add back and repeat until the dough turns smooth and not sticky. As semolina tends to absorb more moisture, sprinkling water while kneading will help achieve a soft dough.
- Let the dough rest covered for 20 to 30 minutes. Depending on your work surface and rolling pin size, you can roll out the entire dough or divide it into two portions for better control. Working with smaller portions allows for easier handling and shaping.
Shape and Rise
- Place a clean cotton sheet on a flat surface and sprinkle some semolina flour. This is where you will be laying the shaped Batbouts to rise.semolina flour or flour (for dusting)
- Transfer the rested dough to a lightly floured surface and roll it out to about ⅛ inch thick.
- Use a cookie cutter or tumbler to cut rounds from the dough.
- Gently transfer the cut-out batbouts to the kitchen towel and keep them covered with another clean kitchen towel.
- Gather the remaining dough, shape it into a smooth ball, rest it for 5 minutes and repeat the process. Roll, cut rounds, and transfer to the floured kitchen cloth.
- Let the dough rounds rise for about 2 hours or until doubled in size.
Cook the Batbout
- Heat a thick-bottomed pan or a cast iron pan over medium heat and wait till it gets very hot.
- Carefully lift the Batbouts and place them in the pan. Add as much as the pan can hold.
- Flip the Batbouts within a few seconds and continue to flip several times, until golden brown on both sides. The browning will be a bit uneven and they puff up as it gets cooked.
- Transfer the cooked Batbout to a towel-lined basket. You can serve it immediately or cool it and store it for later.
- Serve as is or partially slice and stuff them with kebabs, tuna filling roasted veggies, etc.
Notes
Nutrition Info
Nutritional information is an estimate provided for informational purposes only. Values may vary based on ingredient brands, cooking methods, and portion sizes.
If you made this Batbout recipe, will you please do me a favour and leave a review and ⭐️⭐️⭐️⭐️⭐️rating? I would love to know how you liked this recipe. This helps my small business thrive so I can continue providing free recipes and high-quality content for you.


DeaDea says
would love to make this recipe but wondering if gluten-free flour can be used?
Famidha Ashraf says
Hi, I have not tested this recipe with gluten free flour, but if you are looking for similar bread but gluten-free, have you heard of Arepa? It uses Masarepa flour like cornmeal. I made it plenty of times using PAN brand.
Anita says
Made this for the first time. Absolutely loved the entire process and my family enjoyed it too. Thank you!