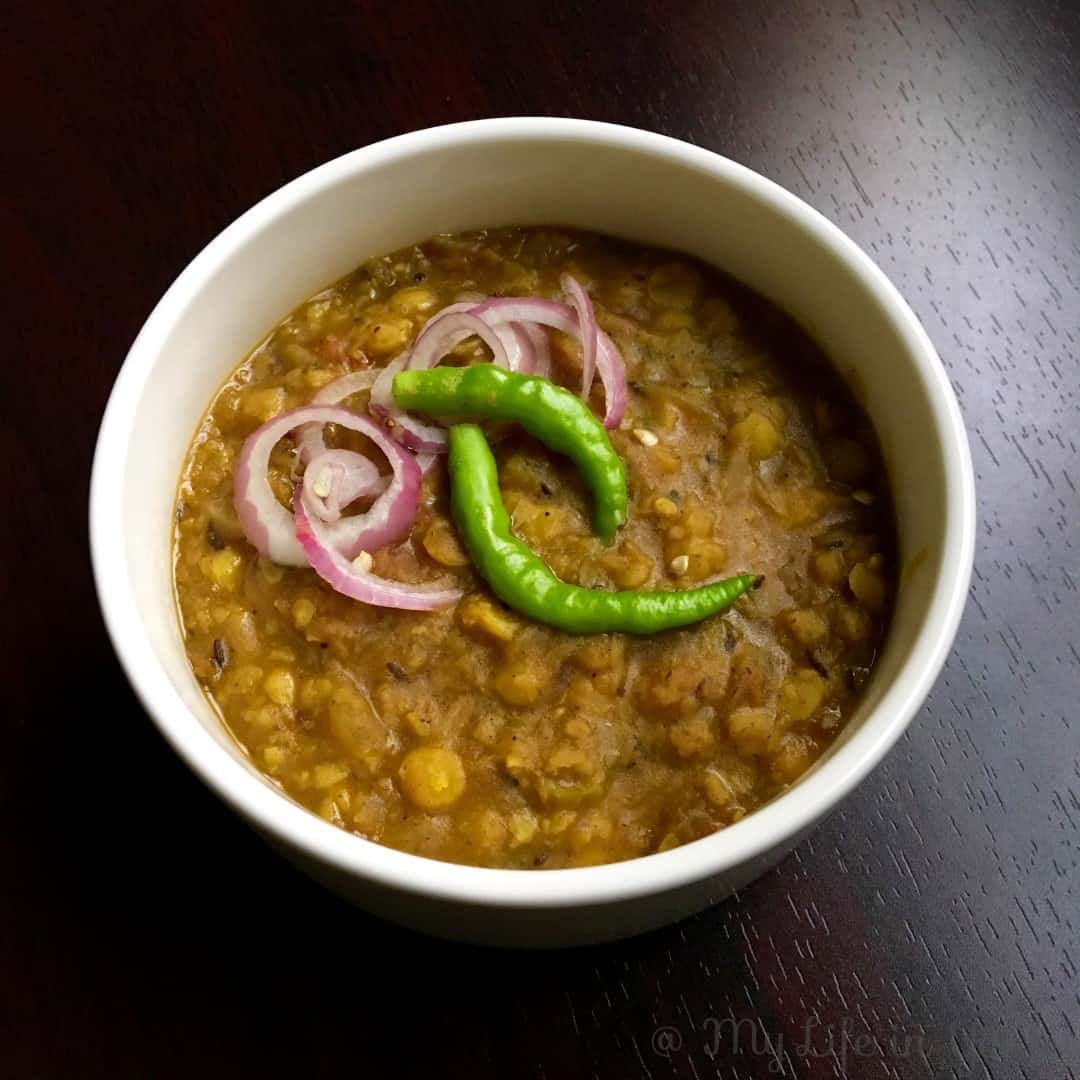
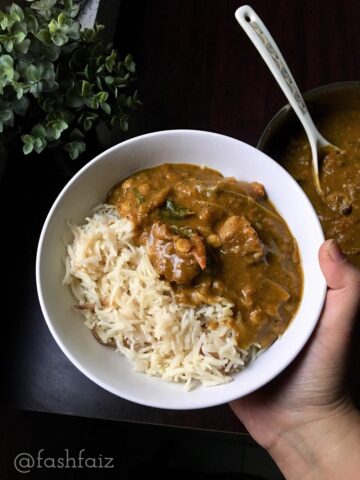
Split chickpeas in onion and tomato gravy finished off with kasoori methi makes a delicious side for all kinds of Indian bread but we love it with our neychor (ghee rice)!
I never thought of posting the dal fry recipe as it is something I make quite often and thought it is too simple for a blog post. But when I posted this picture, a school senior, and Facebook friend requested the recipe, so here it is for her and all my true readers.
Channa dal, the split chickpeas aka split Bengal gram is so versatile as it can go into a sweet or savoury dish making delicious food. I have already posted a sweet coconut Bengal gram parcel which is the most popular post here. Dal fry can be made with other lentils like toor dal, moong dal etc. but I prefer to use channa dal.
Mom makes Dal fry mostly to pair with ghee rice just as a vegetarian option 🙂 and this is almost her version but with the addition of Kasoori methi at the end. Though I enjoy the yellow-coloured dals with minimum spices, F likes dal flavour packed or I guess it is the "Fry" word that entices him.
How to make chana dal fry?
Make sure you soak the split chickpeas overnight or 6 hours or if time crunch, soak in very hot water and keep covered for 2 hours. The soaked lentils cook faster and better. You can boil in a pot or a pressure cooker. We need the dal to retain its shape so don't overcook. While the dal is cooking, I chop the veggies - garlic, onion, tomatoes and ginger, and green chillies to save time. I prefer to add some salt when sauteing the onions as it helps to break them down faster without getting dried. As this is Dal fry, we start with oil, onions and spices and only add the tomatoes after roasting the spices. Sometimes the tomatoes I get are too hard or not too ripe, I add a little water right after adding the tomato to help it break down so the spice powders don't get burnt. The fresh coriander leaves and kasoori methi are a must as it takes the dal fry up a notch. Dal fry tends to thicken as it cools so add water if you have to reheat.
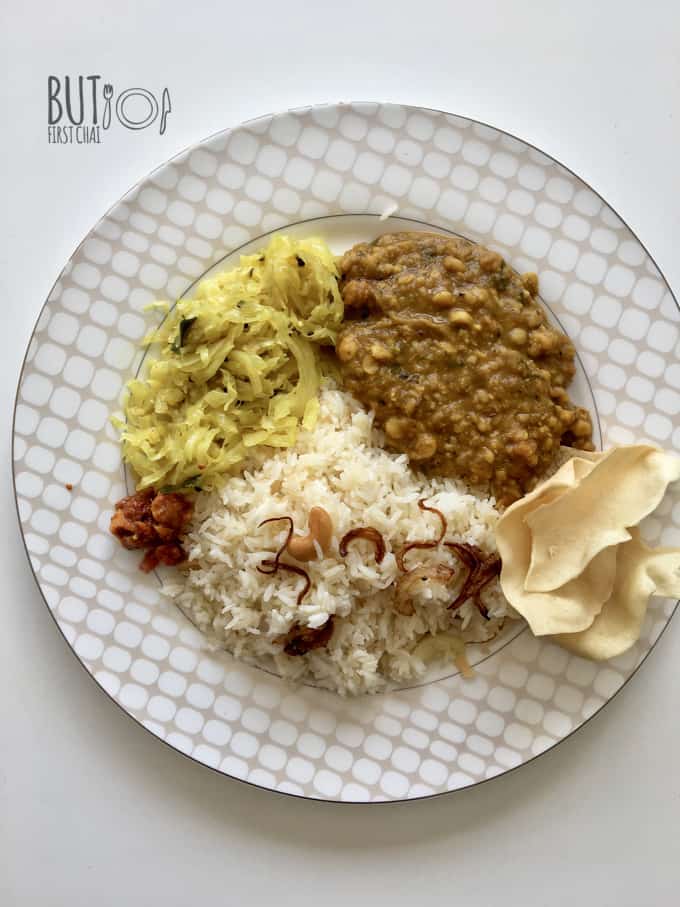
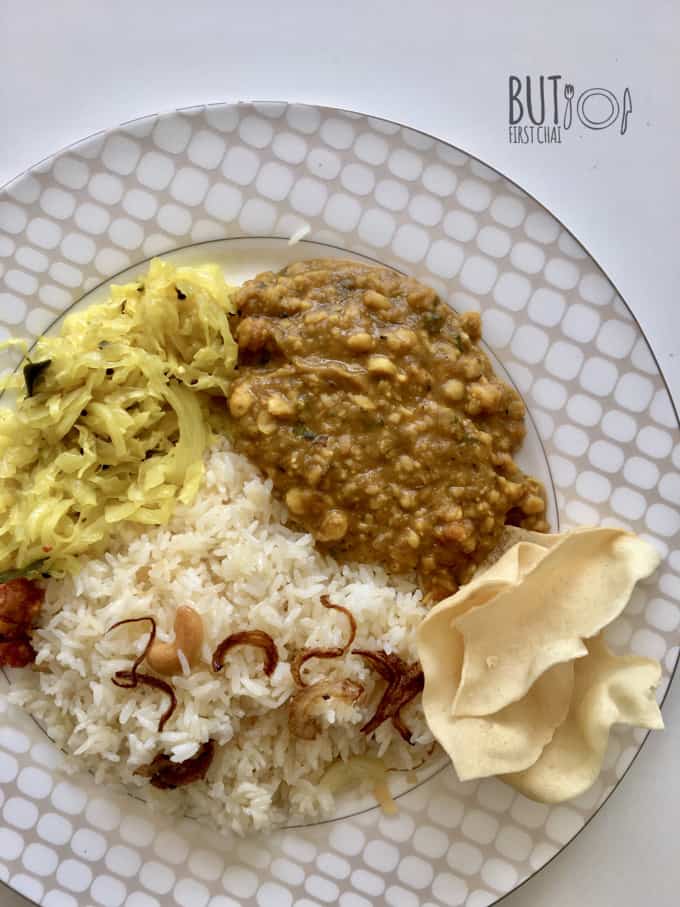
In this picture, dal fry is served with neychor (ghee rice) and cabbage poriyal (stir fry).
Channa Dal Fry Recipe
INGREDIENTS
Pressure cook or pot cook:
- 1 cup channa dal, soaked overnight or 4 to 5 hours
- 1½ to 2 cups of water
- ¼ teaspoon turmeric powder salt to taste
For the Dal fry:
- 2 tablespoons ghee or any cooking oil
- 1 teaspoon cumin seeds (optional)
- 2 to 3 large garlic cloves, sliced thin
- 1-inch ginger, chopped finely
- 1 large onion, finely chopped
- 2 to 3 green chillies, slit and chopped
- 2 teaspoon pepper powder
- 1 teaspoon coriander powder
- ¼ teaspoon turmeric powder
- ½ teaspoon dry mango powder*
- ½ teaspoon garam masala
- 2 to 3 medium-sized tomatoes, roughly chopped
- Fistful of fresh coriander leaves, chopped
- 1 teaspoon kasoori methi
- Salt to taste
- More fresh coriander leaves to garnish
- *If you don't have dry mango powder, then add a tablespoon of lime juice at the end
METHOD
- Pressure cook or boil the lentils until cooked through.
- Heat ghee in a curry pot on medium flame.
- Add the garlic, ginger and green chillies and sauté until it starts to brown.
- Add the chopped onions and saute until translucent on medium to high flame.
- Reduce the heat, add all the spice powders, and coriander leaves and fry until aromatic.
- Add the diced tomatoes and cook on low heat covered until gravy forms and oil separates. Stir occasionally.
- Stir in the cooked dal along with all the water and bring this to boil on medium flame.
- Adjust salt and spices as required and cook until it reaches your desired consistency.
- Stir in the fresh coriander leaves and crushed kasoori methi.
- Switch off and serve hot with any kind of Indian flatbread, pulao, or ghee rice.
TRIED THIS RECIPE?
I would love to hear from you. If you have made this recipe then please do leave a comment below. If you like this recipe then please do share the recipe with your friends and family on Whatsapp, Facebook, Twitter and Pinterest. Please do follow me on Instagram and mention @butfirstchaai or tag #butfirstchaai so that I can see your creations!

Comments
No Comments